Covered the disassembly in a previous post.
Had a few minor problems that I covered earlier.
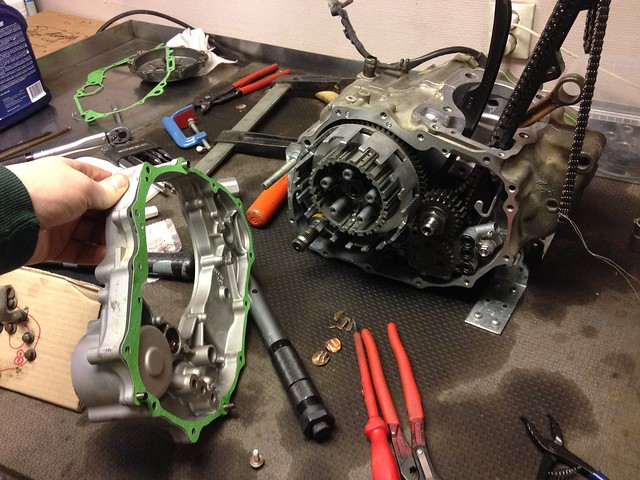
After cleaning up all the parts, ran them through the “parts washer”:

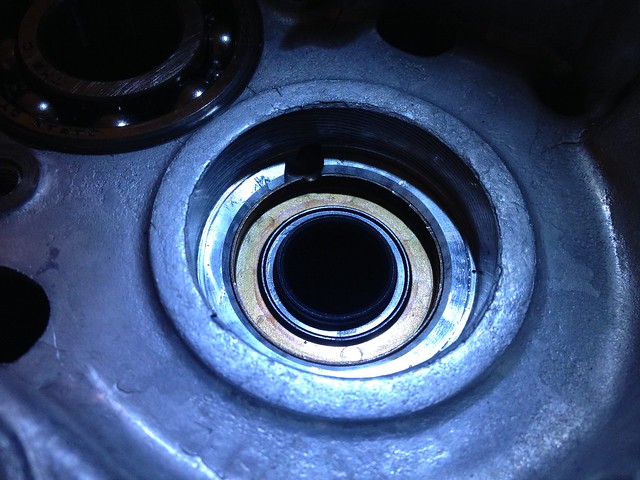
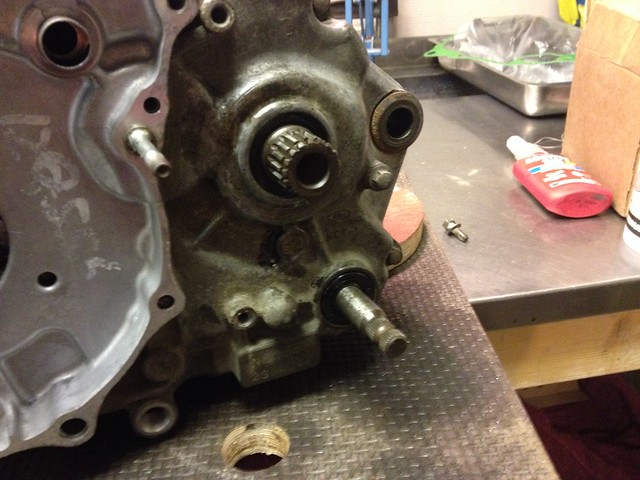
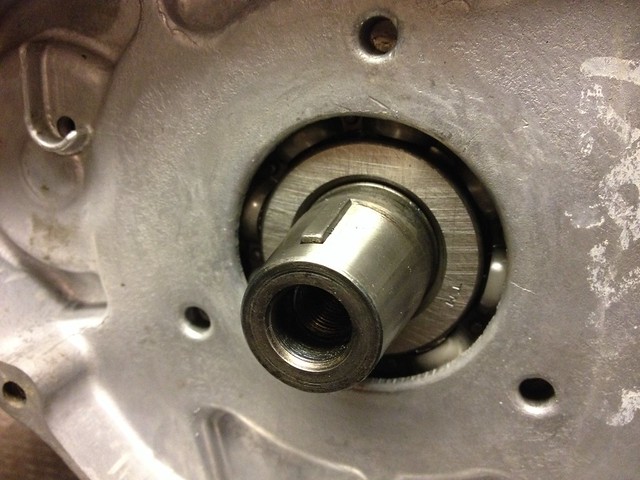
Forgot to add this seal that sits behind one of the bearings in the engine case so had to pop that bearing out, was easy since it was still cold, have cold winters lets you just freeze the bearing by placing them outside to help with assembly:
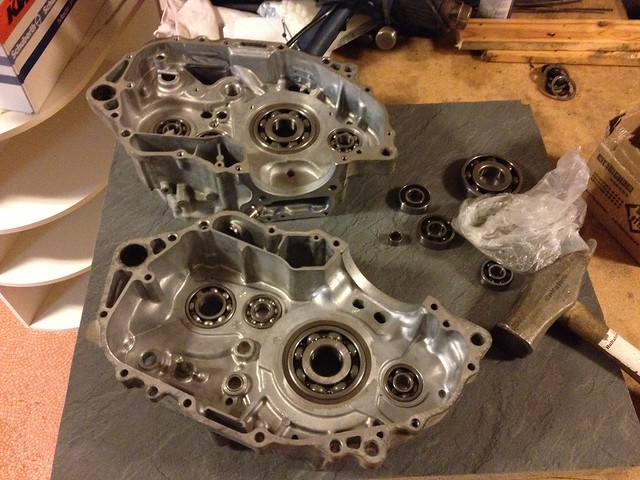
New bearings installed:
Was a little fight to get the crank back in place, a wooden piece to apply some pressure and a little tapping on the end of the crank to get it in place:
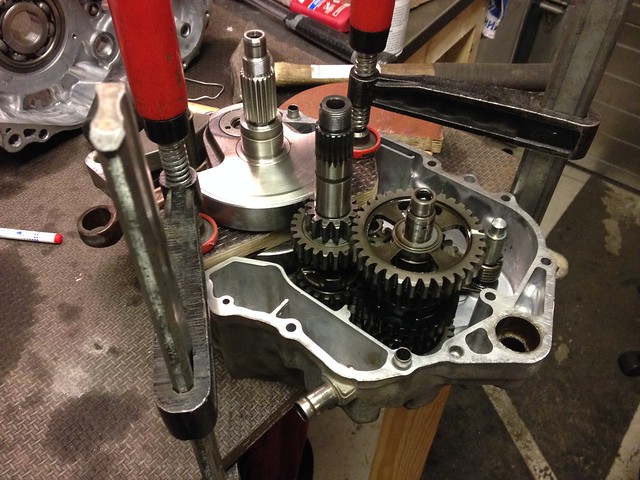
Making sure to get the balancer lined up, glad my dad could help here since an extra pair of hands was a big help since balancer had to be in place during the crank installation:
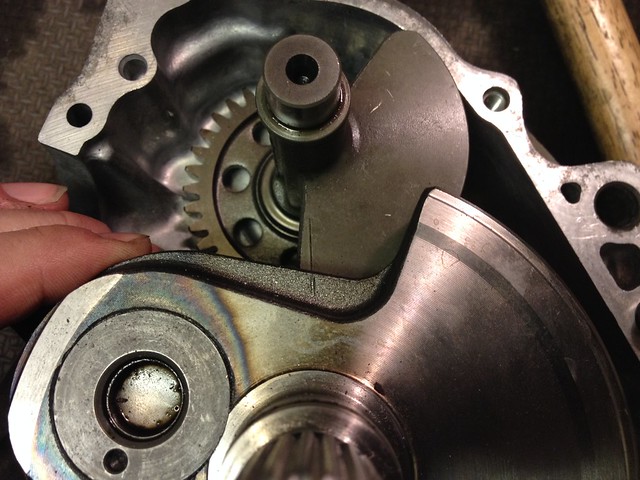
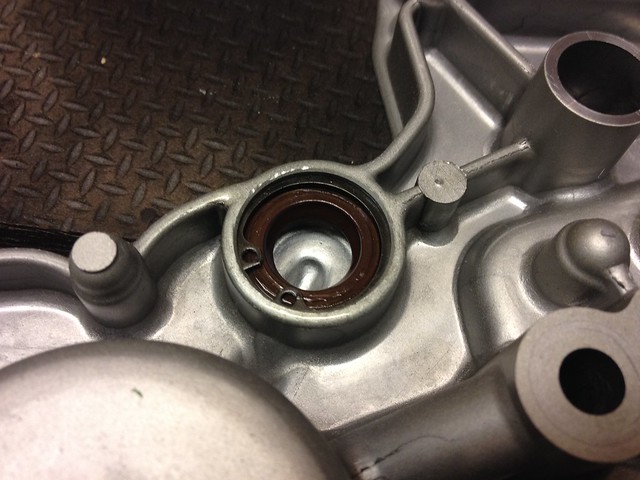
Installed the axle seals after placing the engine cases together, a little tape on the splines was used and some oil to ease the installation:
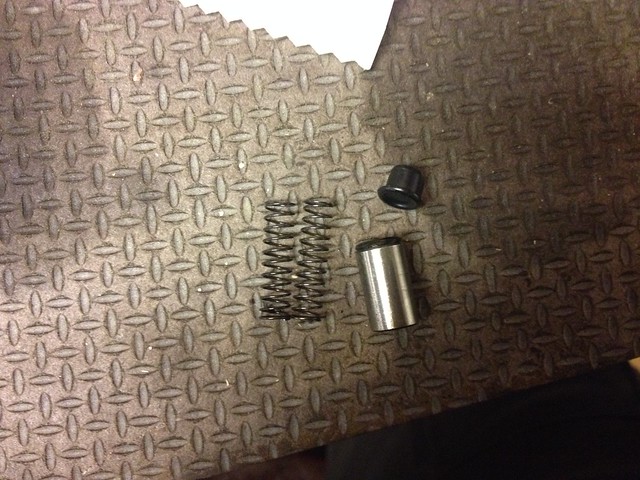
New rubber seal and spring for the oil bypass valve:
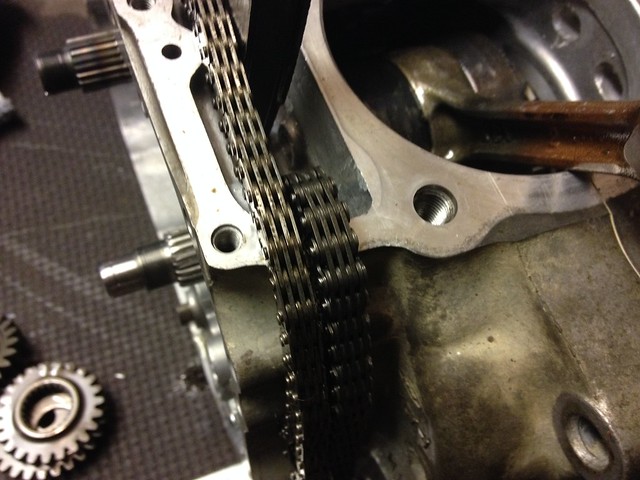
A CRF cam chain that is stronger was added:
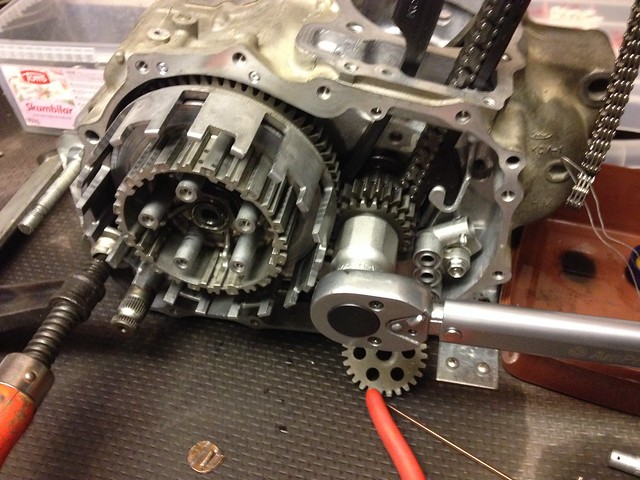
Oil screen and pump in place, striped threads on pump housing was covered in the trouble post:

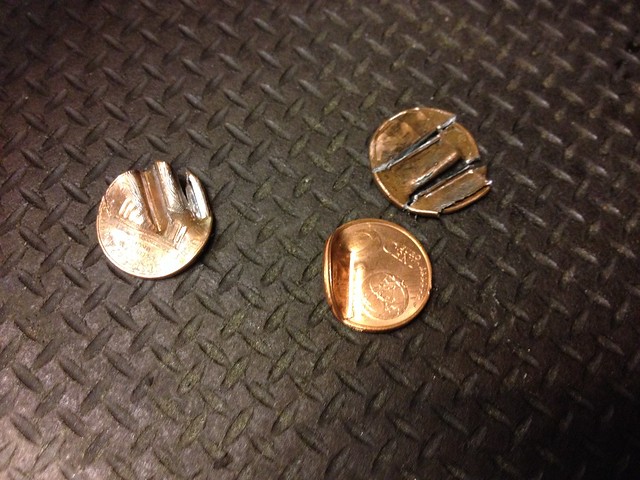
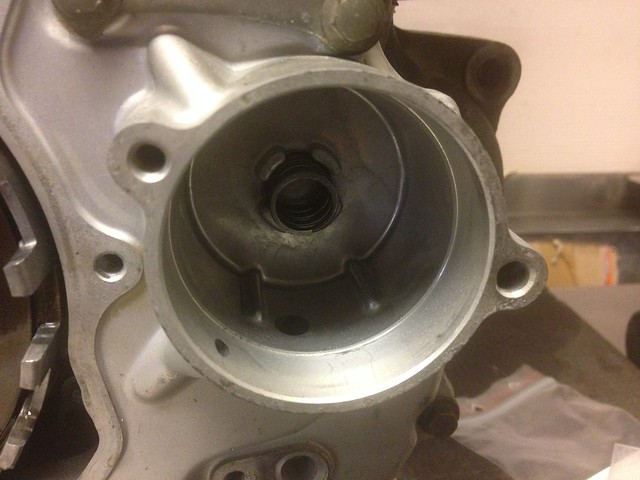
Torquing up the nut on the crank:
The pennies was just not sturdy enough to look up the engine luckily the European 2 cent was enough:
Woodruff key in place:
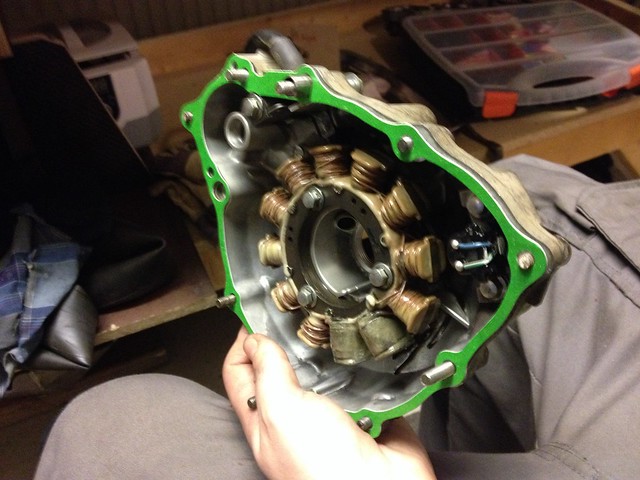
Flywheel was added and bolt torqued up and next was the cover with a new gasket and dowels in place:
Clutch basket refurbish was covered in trouble post seal with lock ring was added to right engine cover:
A little grease was added to hold the oil pump triple ring o-ring in place while getting engine cover in place:
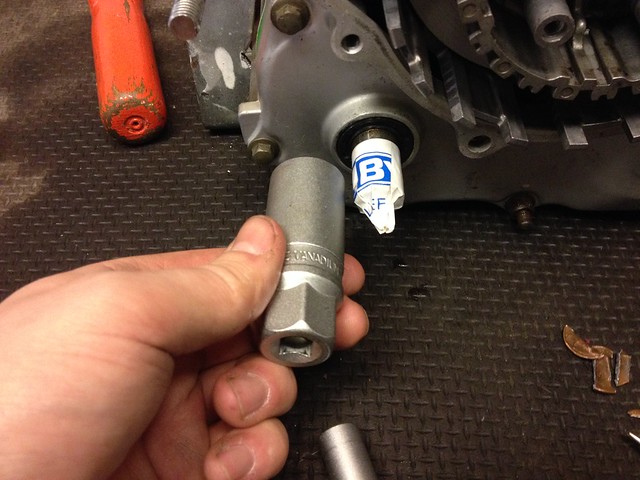
Deep socket was needed to get kick axle seal in place:
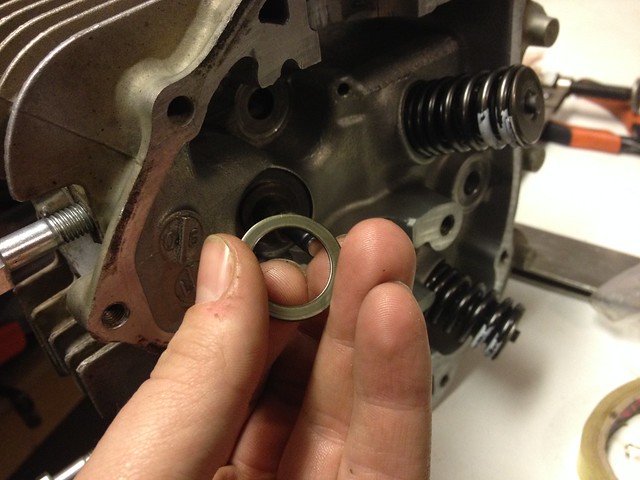
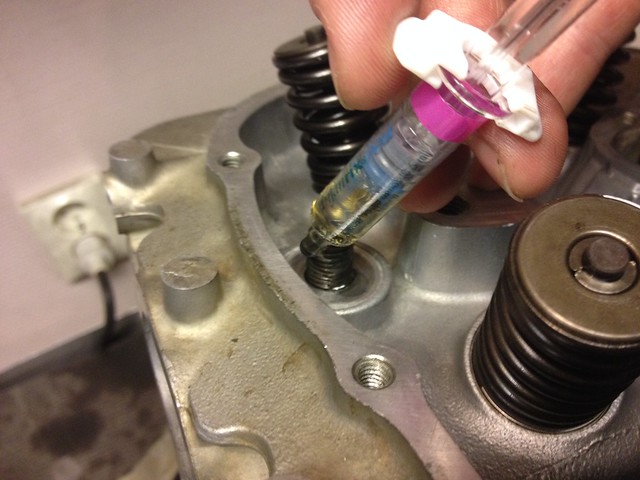
Important to have all these washers that go underneath the valve springs often stay on the head and might fall off later and be gone during assembly but cause damage if to in place:
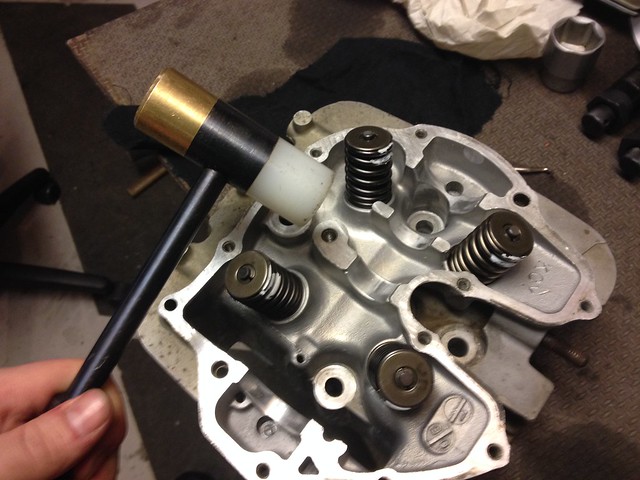
With valve seals and springs everything installed (valve compressor was used during assembly) whack them a few times with a plastic hammer to ensure everything gets well seated in place:
Piston ready:

All the rings in place:
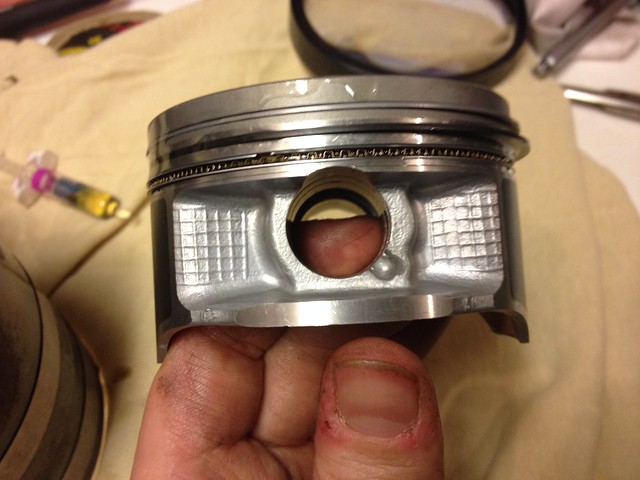
Choose to go with a ring compressor and put the piston in from the top:
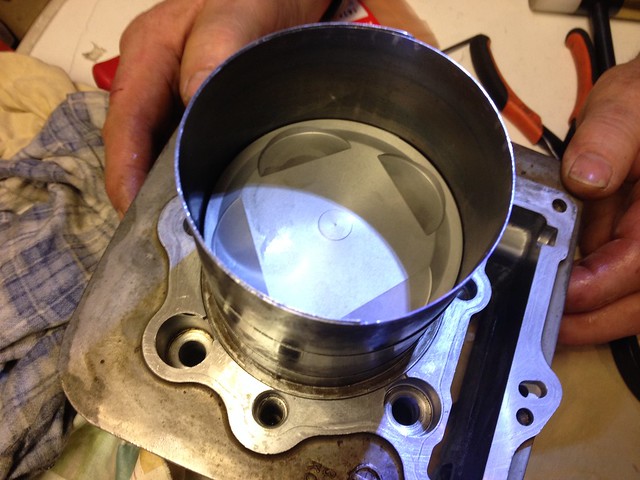
Was very precise that it would slide far enough out the bottom to get the piston pin and lock rings in place:

Torquing up the cylinder bolts with bolt threads coated with oil, DON’T fill holes with oil, can “hydrolock” with stripped threads as a result and we don´t want that:
Checking that head studs are properly bolted to the cylinder:
A little oil on the threads before torquing the nuts:
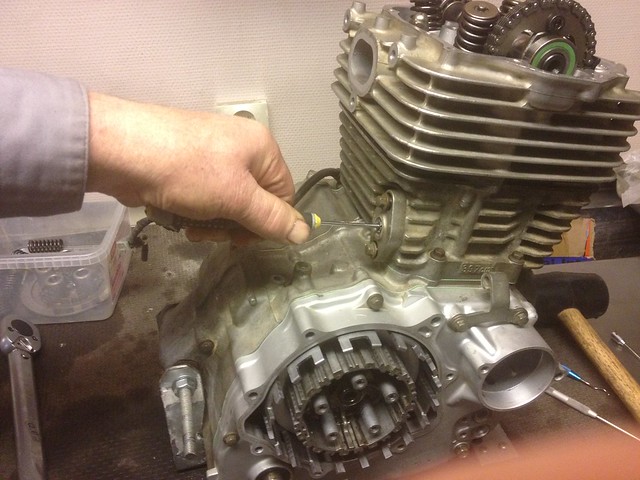
Choose to remove the automatic decompresser from the cam axle and with it in place and everything lining up holding the crank makes i possible to torque the bolts on the timing sprocket:

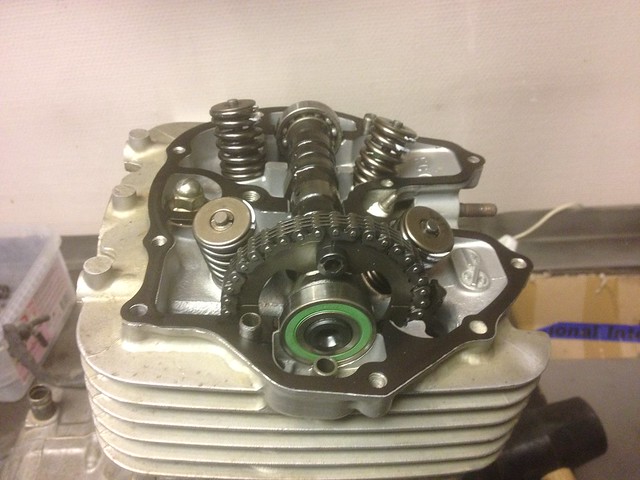
Possible to fit the cam chain tensioner without a special tool if you have help holding it until its been bolted back in place:
Make sure the seal on the cam axle bearing is correct:
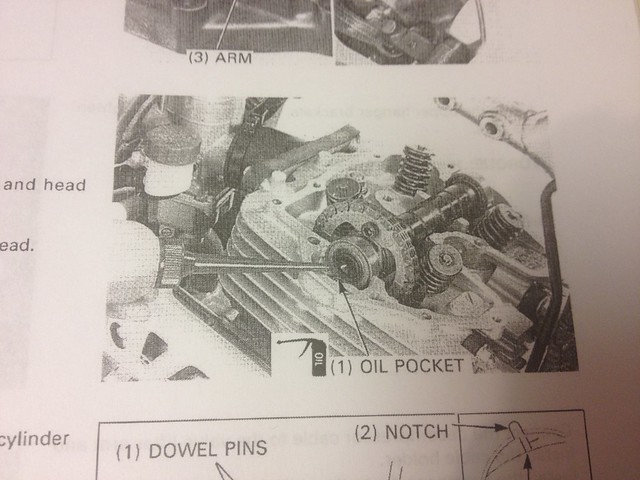
I forgot to fill that pocket with oil as the manual says but since all the surfaces was well lubed I did not open it back up for that:
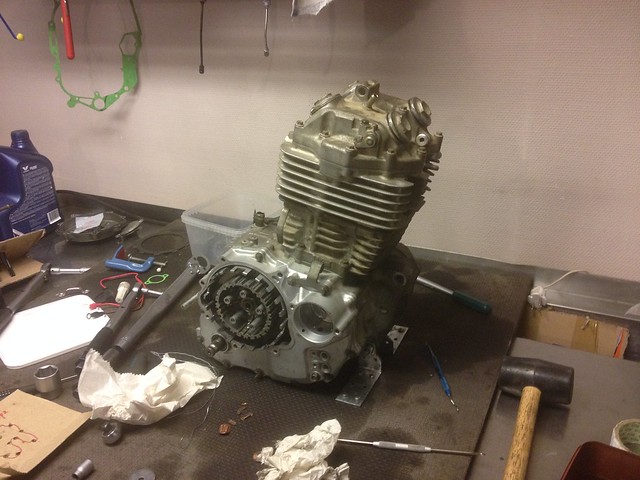
Almost all done:
Make sure you have the spring pressing the oil filter in place:
Last few pieces on the clutch was bolted back up:
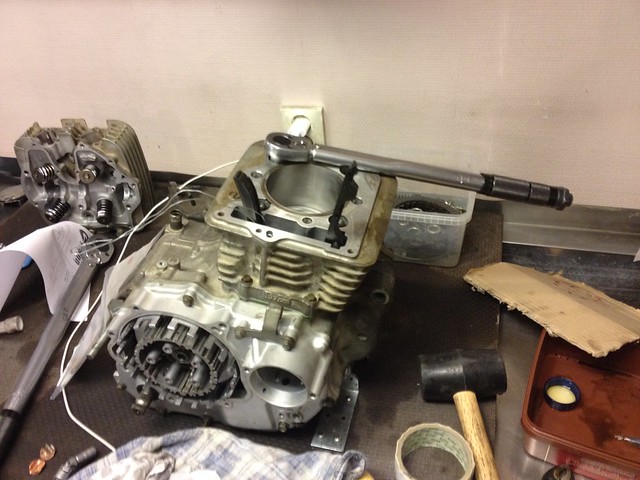
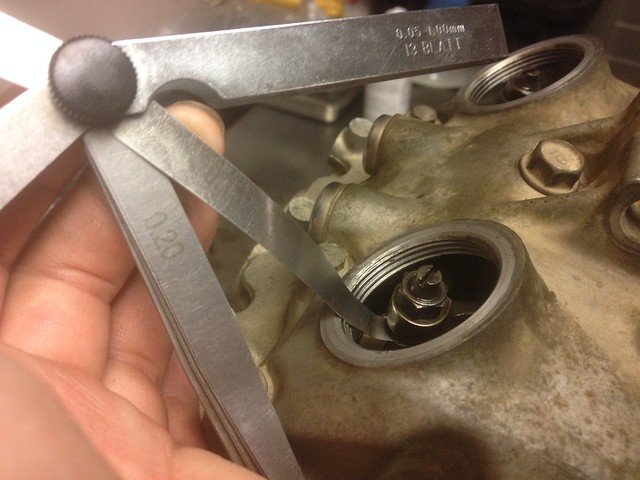
Valve clearances were checked while the engine was still out of the frame and easily accessible:
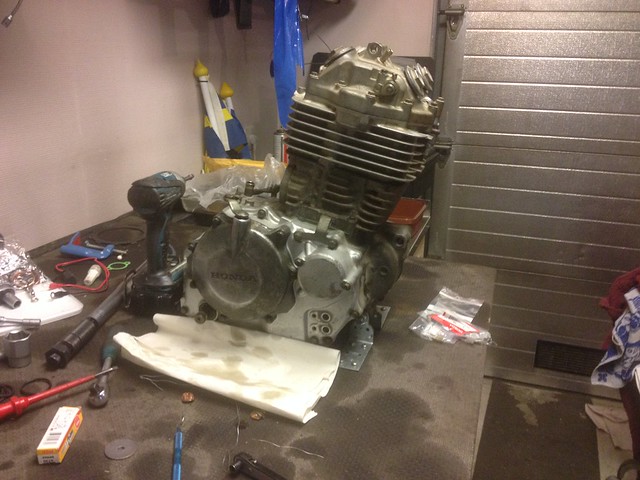
Engine back in the frame:
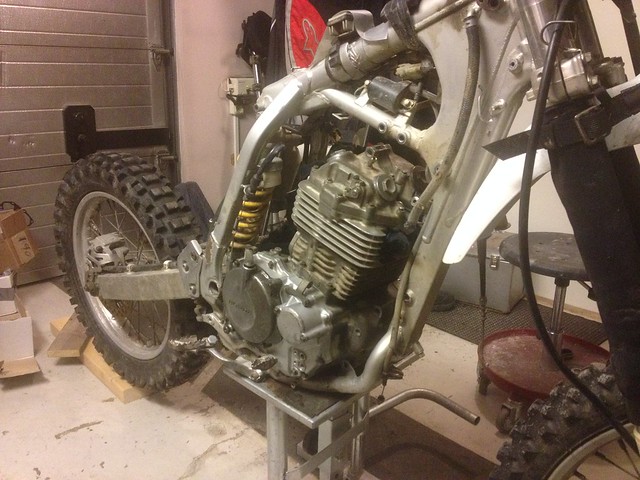
The rest was bolted back up and also did this video about the rebuild, has first test fire in it also:
Hope this can be of help if you need to rebuild your XR400 engine!
So it is up and running but now have a little slipping in the clutch but friction discs was quite badly burnt and really black, one was replaced during rebuild but have ordered more to replace them all and new springs that will hopefully sort that out.
There are also a few electrical gremlins with loss of driving light, brake light not working so will have to look into that do get it to pass the exams all road legal motorcycles are required to take every two years in Sweden.
Might be something in the connection that was added when updating the handlebar cluster it is a bit of a mess the entire wiring loom since lots of stuff has been added and changed over the years.
And its hard to search for the electrical problem on a machine without a battery that need to be running while working on it.
Hello,
I read your disassembly post with great interest as my XR has exactly the same failure mode as yours. I was using it for adventure work and had completed 2700km of which included the iconic Simpson Desert crossing in Australia.
Mike bike stopped due to no compression and I was expecting a holed piston. I was horrified to find the intake skirt completely smashed/melted apart.
The bikes oil was changed within 700km of the failure. We had struggled a little with inferior fuel. On the day of the failure I start with a normal level on the dip stick and travelled 350km of high speed running. The big was running ok with no evidence of poor performance.
The failure would indicate a lubrication issue and when I pulled the bike down I had almost no oil left in the bike. Maybe two cups. There is no sign of the oil disappearing, no holes in cases, no leaks, no trails of bellowing smoke. I was informed that when the bike was working hard the oil could be smelled by nothing unusual for an XR.
The mystery is where dd the oil go so quickly in 350km of running?
So far I am at the stage of removing the bottom end from the frame. I have to deal with the dreaded XR seized swing arm bolt. I have had the bore taken out over size already. New piston, gudgeon pin and rings. My intake valves were toast like yours too. New vlaves and vale stem seals to tidy the head up.
So a matter of splitting the cases to see what else can be found. The big end looks and feels ok and I hope its a matter of a strip and clean. The gears that I can see show no sign of debris going through them so I am hopeful things are ok.
At the moment I suspect the failure may have been a valve stem seal or damage to a ring allowing oil to be consumed with combustion. Slow enough that it did not raise suspicion but the long distance running allowed it to simply run out of oil to fry the piston.
Your feedback is appreciated.
Regards
Brenden
Have you drained the oil from the engine? Or just the oil tank in the frame?
When I drained the tank there were hardly any oil in it and thought that caused the failure.
But from what I understand there is nothing stopping the oil from slowly draining into the sump of the engine if left for a while so when draining that it was not far from the correct amount so mine did not run dry on oil causing this.
It might have been running a little lean for a long time and that combined with a throttle happy dad using it and doing quite a bit of high speed riding caused it to overheat to the point of failure.
Might have been a mistake removing the automatic decompressor since its so hard to start now, have recently installed the manual decompressor but have not really had time for this bike since the rebuild so it just stands in garage.
Several bearings might have been possible to reuse but some of them felt rough and since there were pieces of piston rings moving around the engine I choose to replace all bearings, had there just been aluminum pieces moving through the engine I would probably have reused most bearings.
From the lithe riding that have been done since rebuild the Chinese gasket kit seems to be holding up well.
/Johan
Thanks Johan,
The total oil in the engine and frame was depleted.
Some research has revealed the failure to be detonation and the heat generated from the melted the edge of the piston. It then progressed to glue the rings and the whole thing running hot. The heat certainly stained the piston and the head of the piston showed a match to a description shown on a help guide to failures.
The bike is typically used for trail riding in the high country. No long running. Rarely sees speed over 80km/hr and when it does go flat out its not for long. Due to that the jetting is set leaner and ok for that application.
Investigation showed the needle on the second clip from the top (been there since I have owned the bike). So the combination of lean set up, heavy load (fuel, camping gear etc), long periods of high speed and probably a dose of suspect outback fuel was what killed it. The only mystery is the speed it lost its oil without a trace. Everything else fits the theory.
I plan to use a stage one cam so will ditch the auto decompressor. Not that I had issues with it, my XR was a great starter. I can imagine starting one without a decompressor. Manual is fine.
In the end it will have a 11:1 piston 1mm over size, stage one came and a mikuni flat slide. With the engine being fresh it should raise the power in the rev range a bit and sweeten the response but not be too far from stoke to be a reliability issue. Key it appears is to ensure the jetting is correct for the intended use. Bit richer for the high speed work. Bit leaner for work at altitude.
Cheers
brenden
Hey great photos! I’m ready to assemble my 400 and am wondering if you used anything additional to the paper gaskets to seal things up?
Brent
Just used the paper gasket.
Can’t remember if I needed to put a little grease on some of them to hold it in place.
Know I have needed that on the KTM doing the engine cover that houses the waterpump.
/Johan
Perfect! Thanks for the reply!
Is there any small end bushing in that? I am replacing the crank in my xr with a 40ex crank, but the new one has no brass bushing or oiil hole. Can anyone advise on this?
I think the wrist pin will just seie in the small end if it assemble as is.
Trying to remember and think it’s a needle bearing in the small end of the crankshaft?
Was so long ago and have the memory of a goldfish sadly.
Great pics , I’ve got my motor partly in bits , any tips on refit the kick start assembly , I got no recoil on mine it just binds.
Hope you got it working.
Was a while since comment was posted.
Sadly I’m no help can’t remember having any issues with the kickstarter.