A 2005 KTM 950 Adventure was recently purchased and while looking it over a bit more closely then during the exam before purchase it was found that the points on the fuel pump was quite badly worn.
A well known problem and there are several cures for it but since points were so unevenly worn some kind of replacement was required.
Choose earlier to go with a MOSfet solution on the 2004 950 that had worn points but still evenly worn.
Could have gone this route here also but if a replacement is required the best solution out there is the “Dr Bean” modification and remove the mechanical part of the fuel pump control.
Contacted the Doctor through PM on www.advrider.com he has a thread about this in the vendors section.
Payed through paypal and a few days later I had the kit in the mail.
No instructions are included in package but can be downloaded here.
There has been some changes to the instructions so what you read below might not be accurate, have updated link to the newest instructions, follow them!
Tools needed:
- Cutting plier (to remove clamps on fuel hose on pump)
- Phillips screwdriver (for pump cover and to remove old breaker points)
- 7 mm socket (to mount new spacers)
- 2,5 mm allen key (to mount new circuit board)
- Small soldering iron (to connect cables to circuit board)
- Loctite
- WD-40
- Instructions call for soldering tin being needed but was included in my kit at least.
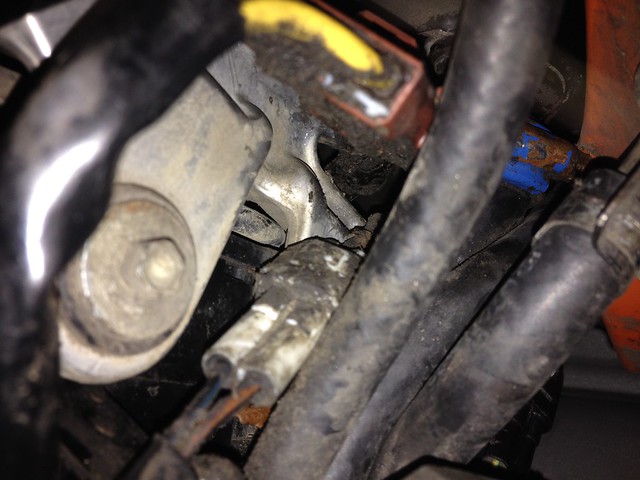
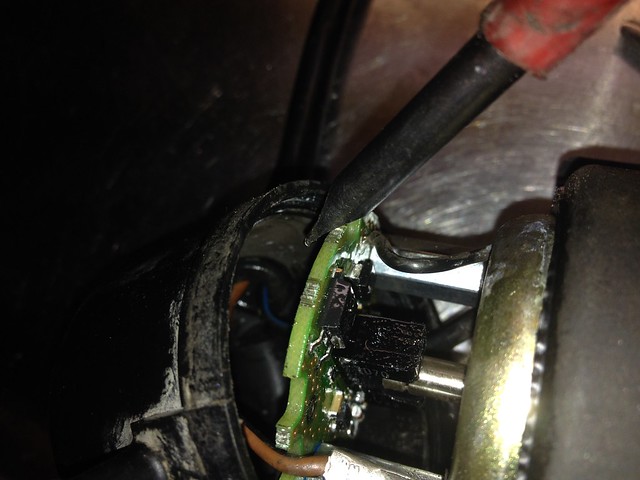
It is tight getting the electrical connector for the pump apart without removing the left side tank but it is possible to pull it out some and undo lock on it with a screwdriver with tank in place but it is fiddely:
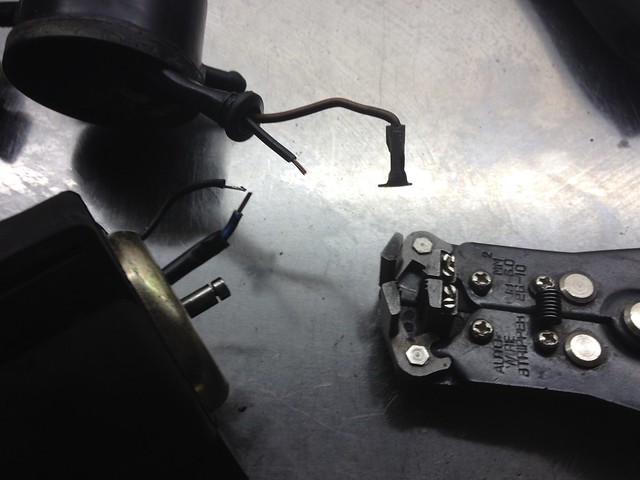
Sorry for bad picture but single use clamps needs to be cut to be able to remove pump:
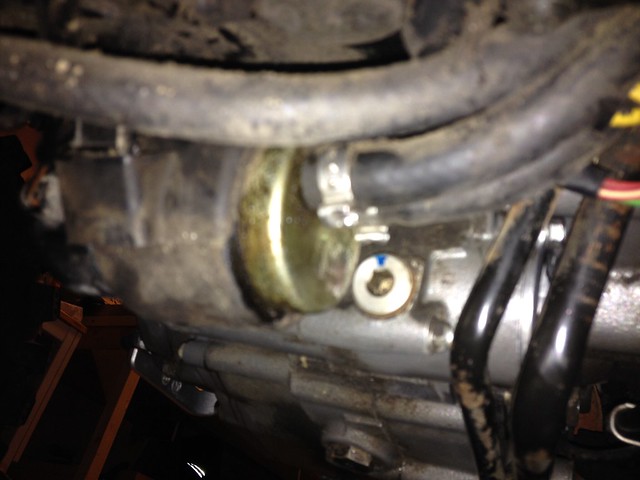
Its just held in place by the rubber around it pushed up on to tabs.
A piece of hose was added to avoid the fuel within it to not spill, there will be some spill when undoing hoses from pump so be prepared for that and make sure to CLOSE the petcock on the tank.

Cover removed, manuals printed and new parts laid out:

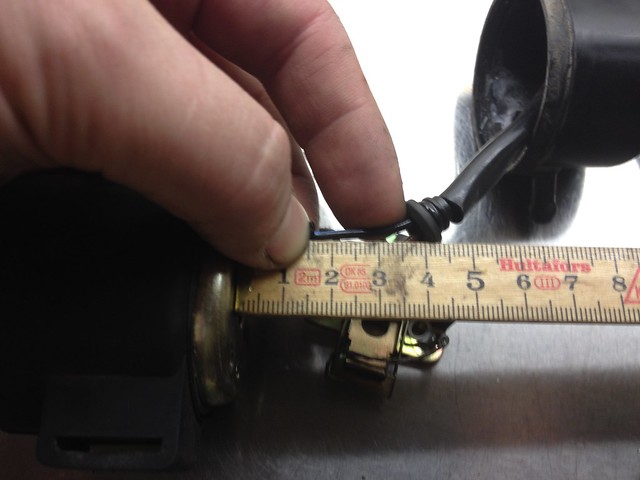
Old points removed and measuring were to cut blue and black cable, at 25 mm as the instructions say:
Black cable is soldered to old points to soldering iron to undo that:
Black/blue cable need to have both ends stripped:
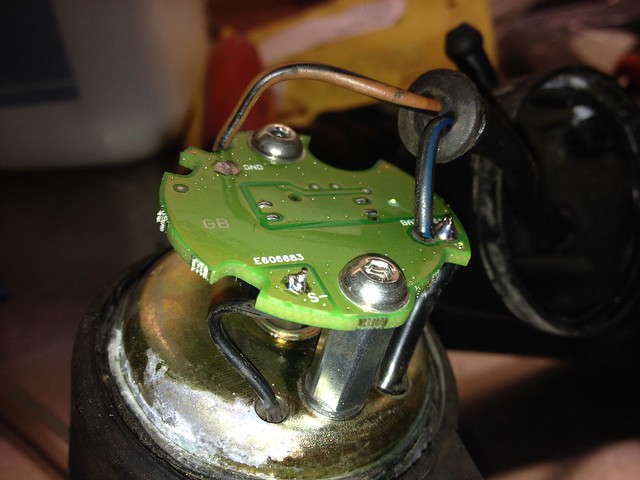
Spacers bolted in place with loctite and lock washer in place, and extra washer on one side and the brown black connector clamped in place on the other, black/blue cable from connector ready to be soldered in place:

Needle nose pliers helped when guiding the cables into the correct places from underneath:
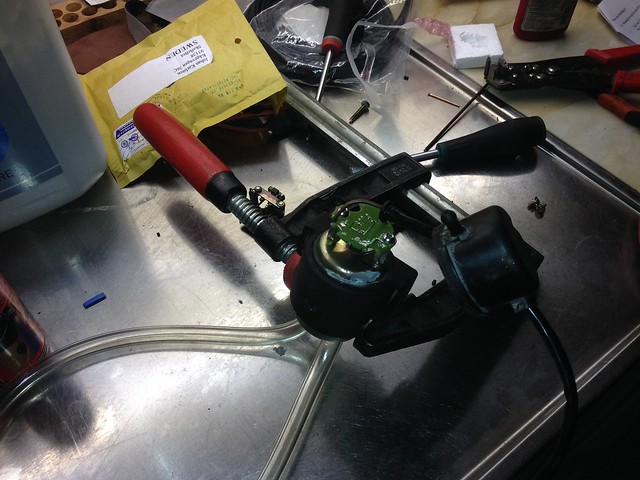
Clamped it to stay in a vertical position to make it easier to solder the last 2 cables in place:
Soldered and bolted in place with loctite and lock washers:
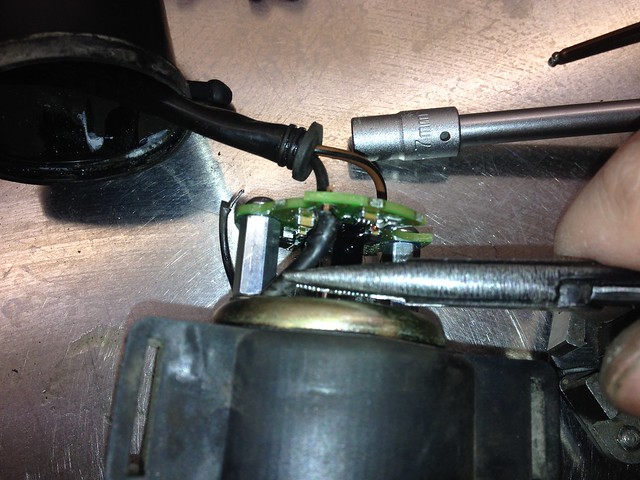
Removed a little of the cable protector to be able to slide the rubber guide a little further up the cables:
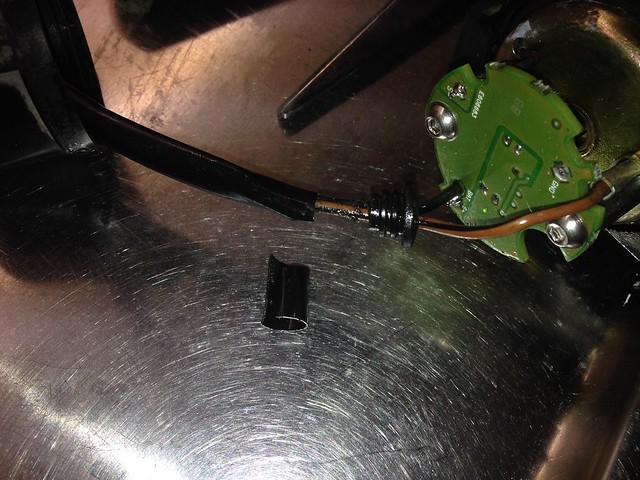
Making it possible to have enough room to get a screwdriver in and push the rubber guide firmly into the plastic cap to ensure a good seal:
The o-ring sealing the plastic cap stayed in place under the rubber pump holder so just left it there and added some WD-40 to help ease pushing cap back in place and in picture below its not pushed in place fully:
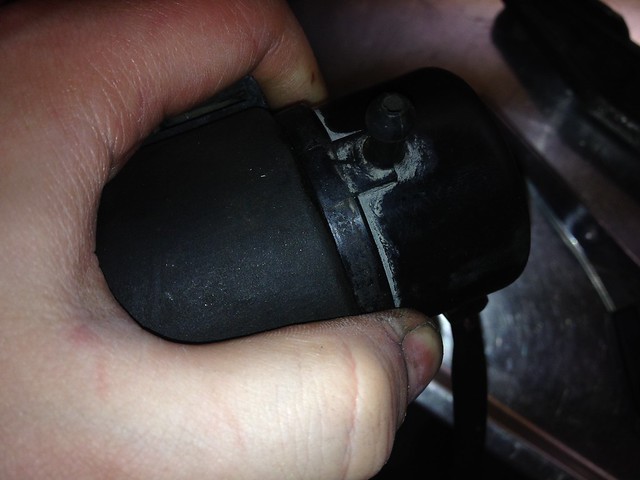
Almost the entire ridge on the cap should slide under the rubber holder when its fully seated in place:

A tiny dab of dielectric grease was added to the area the cap bolt presses on to further seal and loctite was added to that bolt also, excess grease was wiped off to not attract dirt.
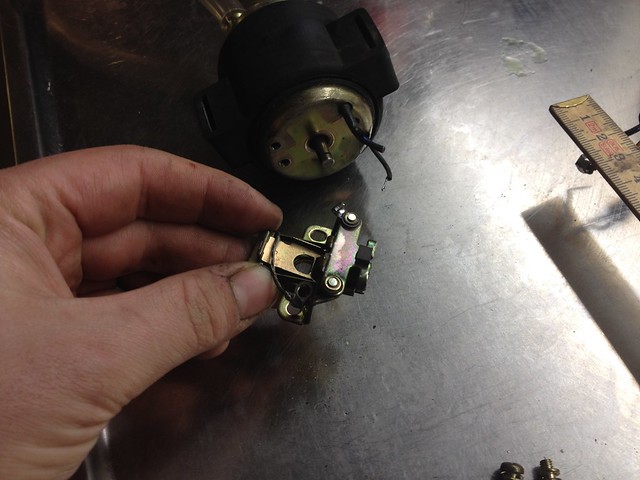
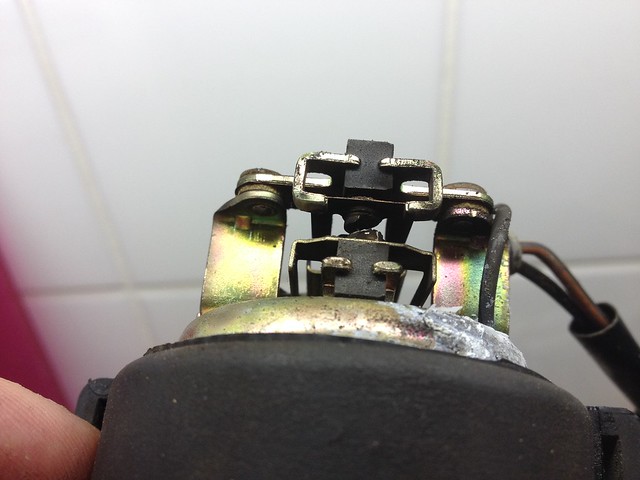
What the worn breaker points looked like:
Did a test when the electrical connector was back together to ensure if functioning, plenty quieter without the mechanical breakers:
Just hoses with some screw type clamps left and bolt skid plate back in place.
A quite easy job to fix a common problem.
Hi, my pump is gone bad.
The thing corroded so bad I need to replace whole unit. Is this the best route?
Do you have experience with the facet pumps over DRbean modification?
No experience with the Facet solution but if its so bad that a replacement of the entire pump is required a facet might be more justified. Read that you might run into trouble with carb overflow if left with fuel valve on and full fuel tanks.
/Johan