Have the bike almost back together by now but will write some about the problems I had during the rebuild.
The teardown can be found here.
Part of this rebuild taking so long has been that I ordered parts from all over the world to save money and finding good prices and shipping took longer then I thought it would.
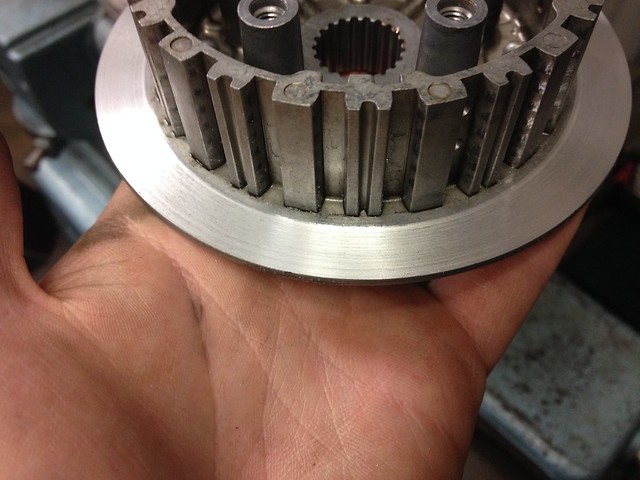
Found some damage to the inner clutch hub causing heavy grooving on the inner most friction disc:

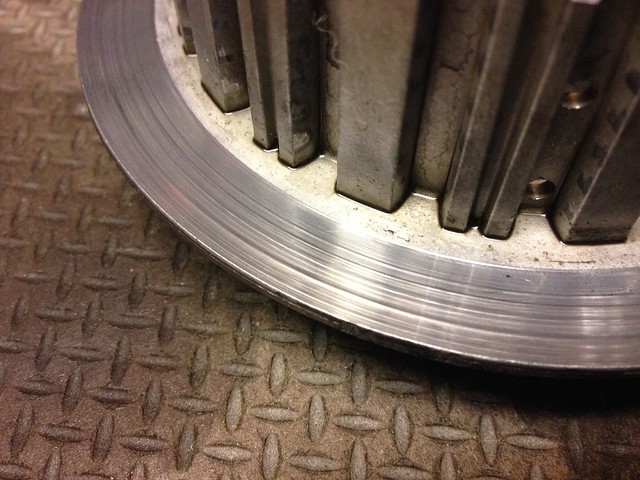
Was possible to rig it up in a lathe and give it a “shave”:

And all smooth again:
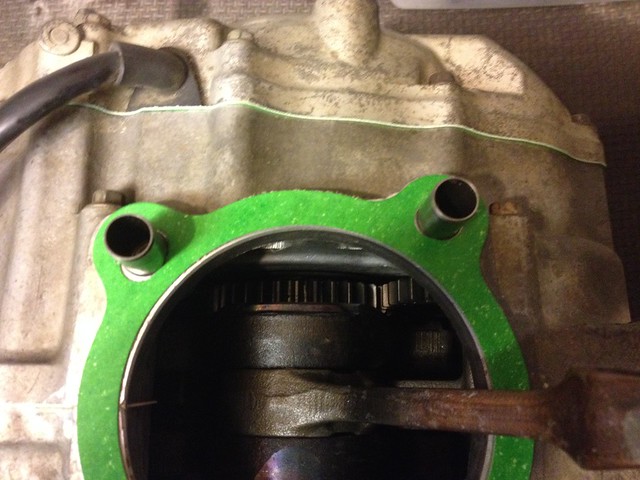
Then some problem with the China gasket kit was the crankcase gasket did not fit:
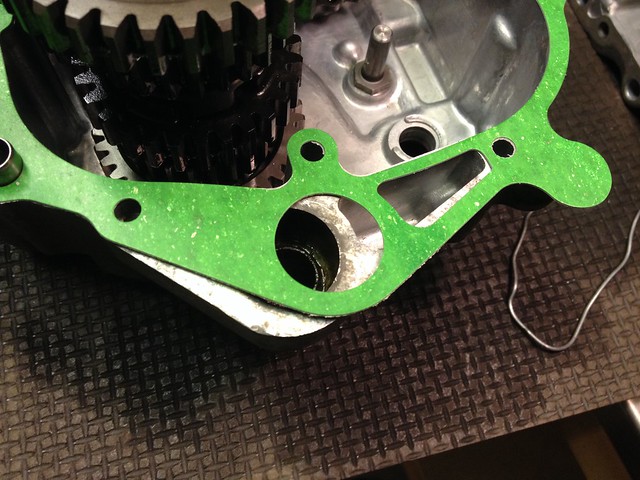
This was a gasket kit from China, turned out to be for a TRX400 and luckily all the rest of the gaskets was correct at least, was clearly labeled for the XR:
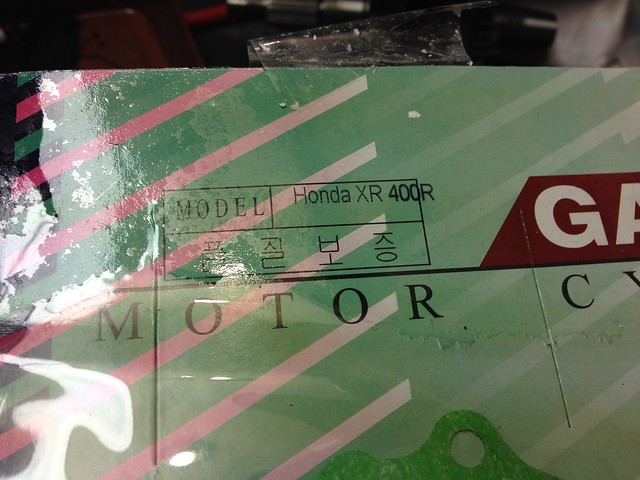
Was solved buy buying an OEM gasket from the local dealer for almost as much as I paid for the entire kit from China.
2 of the holes in the cylinder base gasket also turned out to be a bit to small so were opened up some:
Some of the O-rings also should come marks on them:
Gaskets feel good still a little more fuzz in the cuts that are cleaner on an OEM gasket, time will tell if it will hold up.
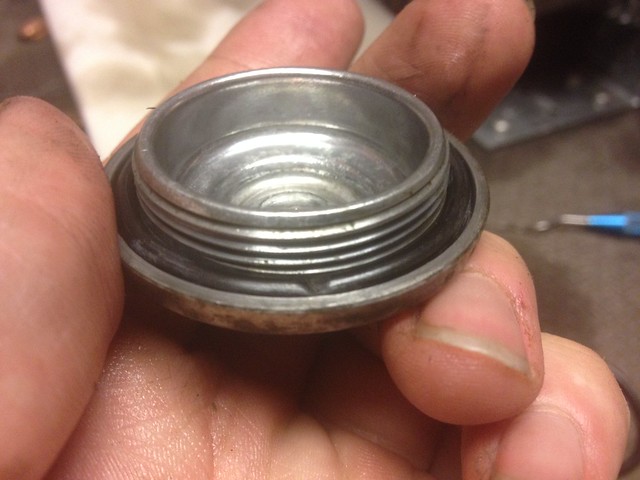
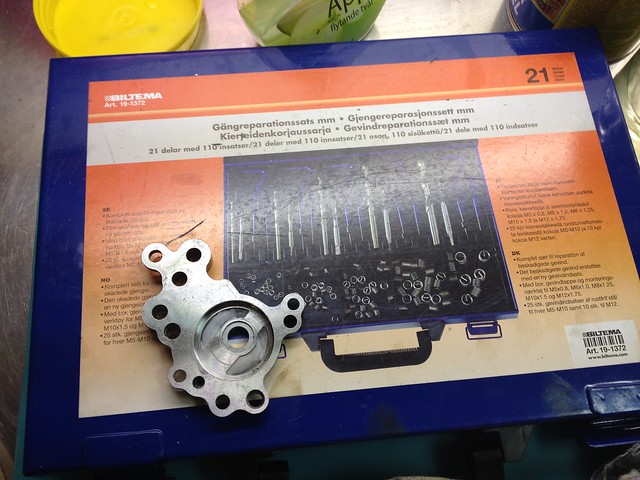
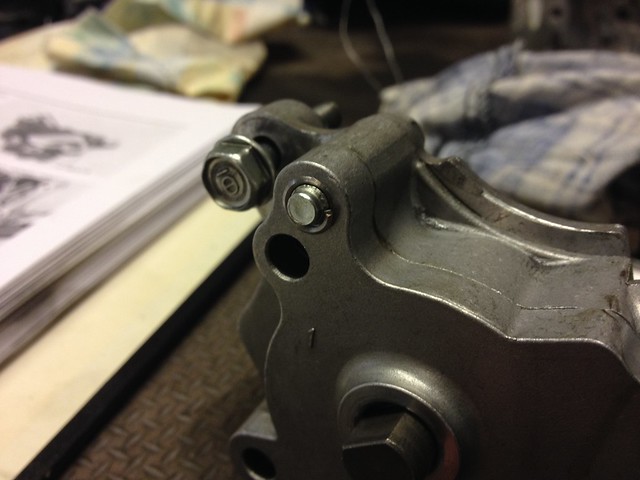
Another snag was stripping the threads that hold the oil pump housing together, luckily I had a thread repair kit:
To get tap to enter at a straight angle a suitable sized hole was drilled in a piece of wood and housing was held against that:
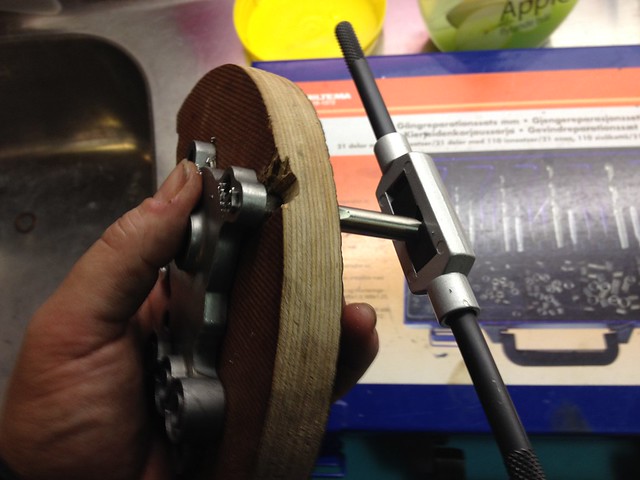
So was able to bolt it back up:
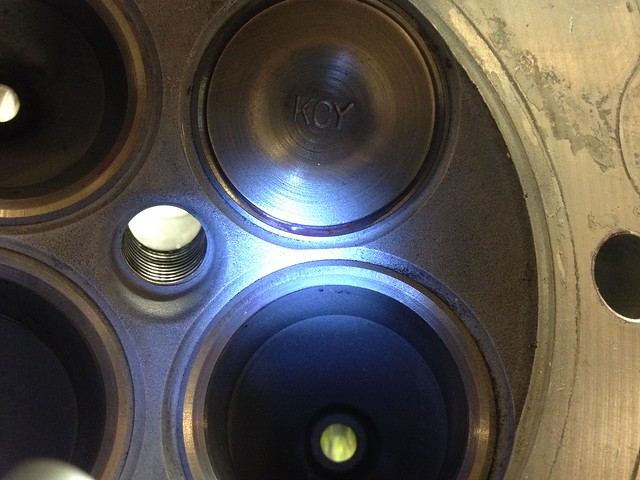
And next I will cover the worst of the rebuild, dropped the cylinder and head at a local machine shop for drilling bore out and valve work, they had looked at it and said intake valves were shot but exhaust valves could be reused.
Tried assemble them and filled some methanol and within a few seconds fluid could be seen dripping out:
And as you can see the valve lapping clearly did not hit the entire valve:
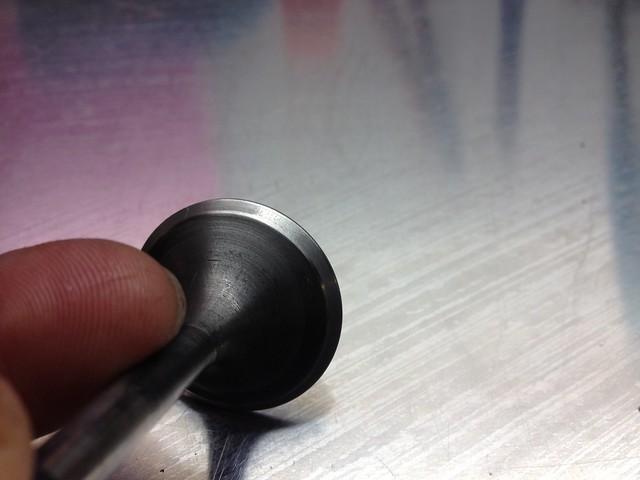
Went back and they put it back up in the valve grinder and a slight wobble of the valve disc could be seen and the other exhaust valve after a second grind:
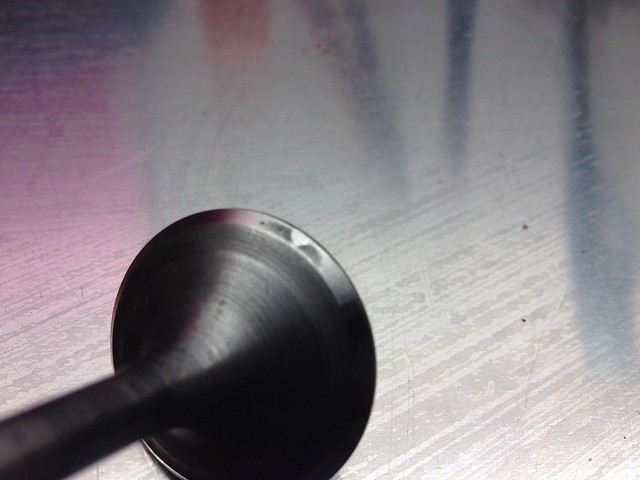
Was not all that happy with them not catching that so a new set of exhaust valves were needed.
But wait it gets worse! I also asked about the valve seat width since it looked to be a bit wide, the reply was that it was 1,2 mm, manual says 1,0-1,1 mm so I could have lived with 1,2 mm but still asked a mechanic at another place who was agreeing with me that is was to wide so bit the bullet and took it to another place I have had do work on other machines and it had looked great, that machine shop is in another town 130km south. He took his time looking and measuring and he was quite certain the valve seat was done with a 1,5 mm cutter (he showed me the equipment but I still don’t understand how it worked).
In some way I was glad I was right and could have it corrected but it cost me an extra 800 SEK and I feel like adding many words not suitable about the local machine shop in Skellefteå, won’t go that route or even name the company, at least the cylinder bore was good.
Choose to remove the auto decomp also but that I have covered in a separate post.
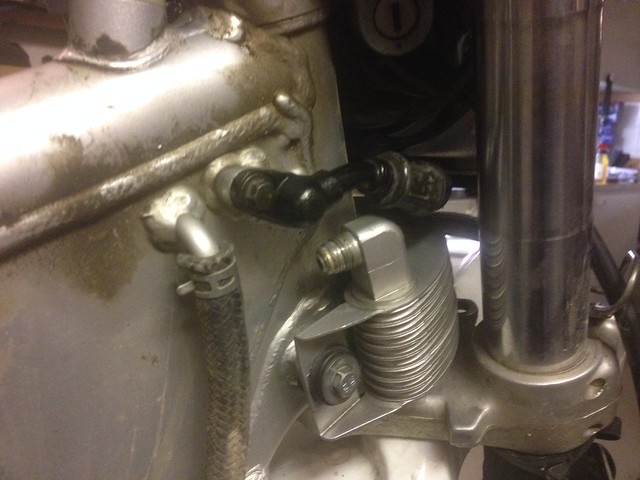
Last real problem was the damaged threads on the oil cooler:
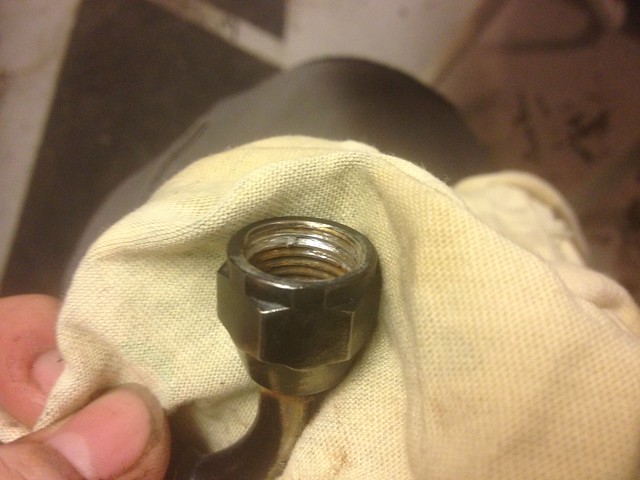
With some of the stripped thread stuck in the nut:
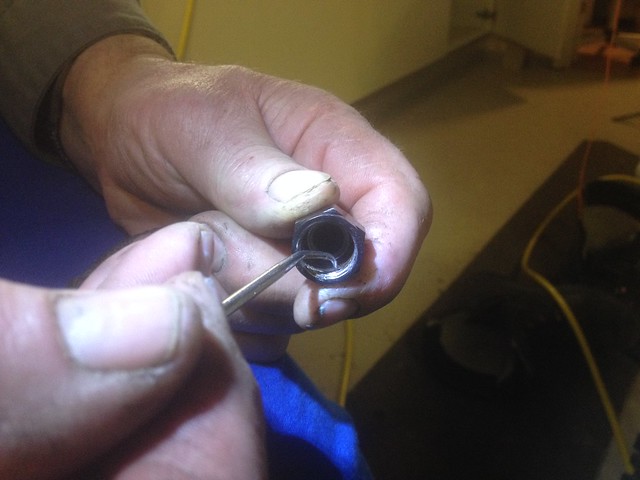
My dad helped out some with trying to scrape enough out of the threads to make them not do more damage and care was taken tightening the connections back up:
There will soon be a rebuild post …I hope, unless I run into any more problems.
Leave a Reply