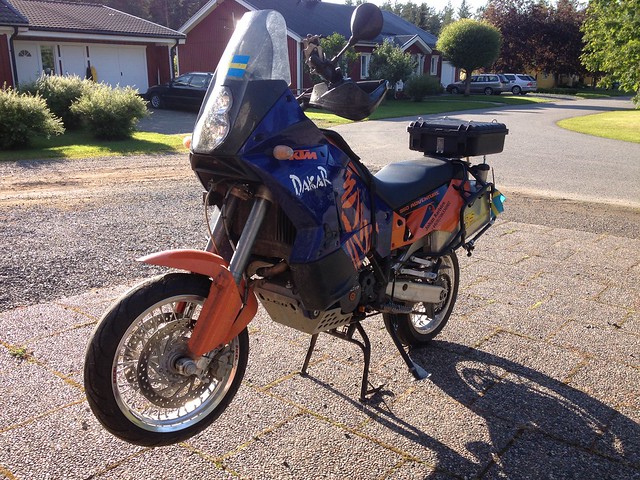
Bought some spare parts for the big KTM a while back including a set of extra forks and when the stock forks started leaking I just simply swapped to the spare, finally got around to changing the fork seals in the stock set.
The set that I had on the bike did not feel in that good of a shape so decided to swap back to the stock set.
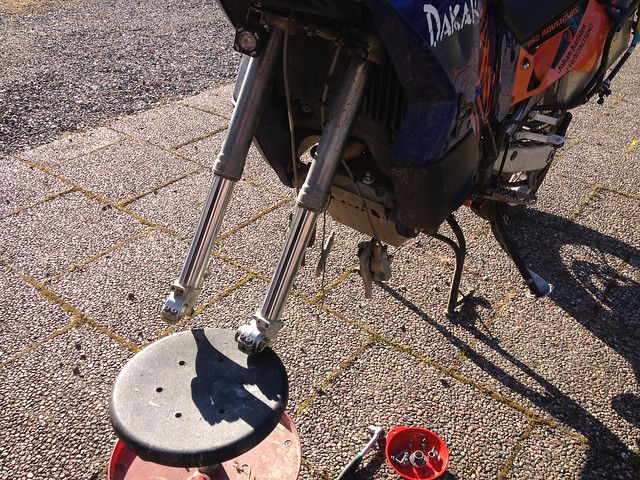
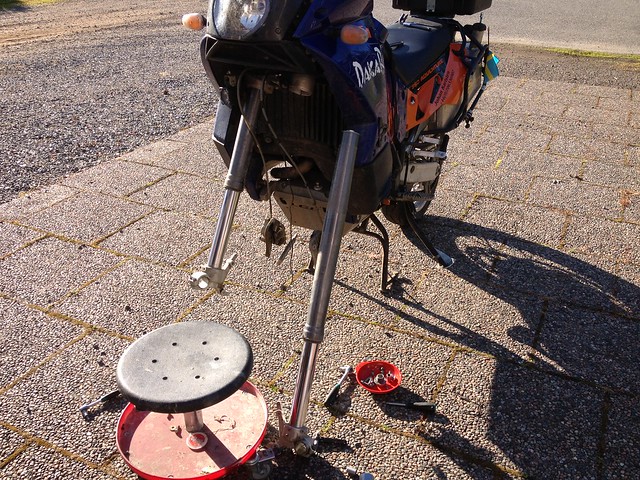
Having the bike on a slight uphill will make it possible to just lean it back and you will have the front wheel in the air, the Motard wheels makes it need an even smaller uphill.
Fender is pretty easy a few bolts and it can be removed:
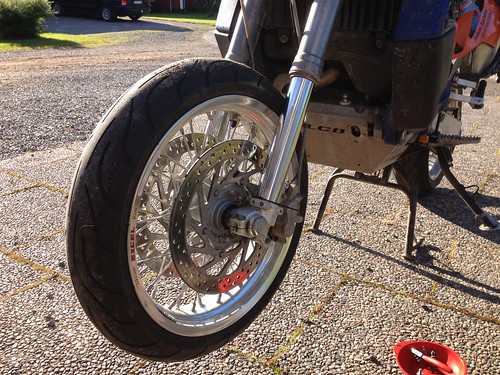
Some wire to hang the calipers, took the calipers of before the wheel since the Motard wheel is a tight fit without removing caliper but with stock wheel it can be removed first, don´t forget the speedo sensor:
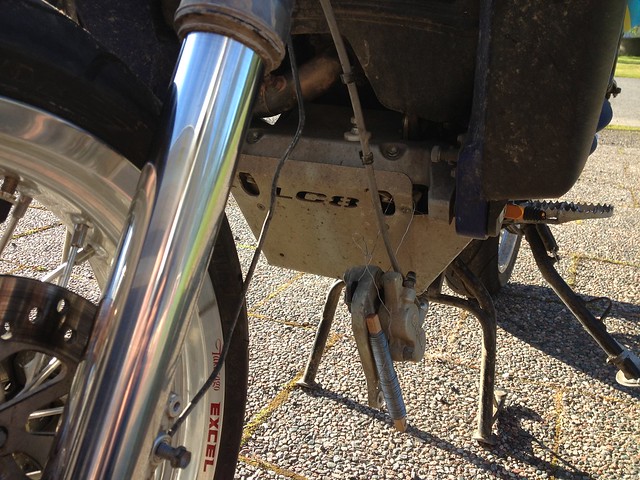
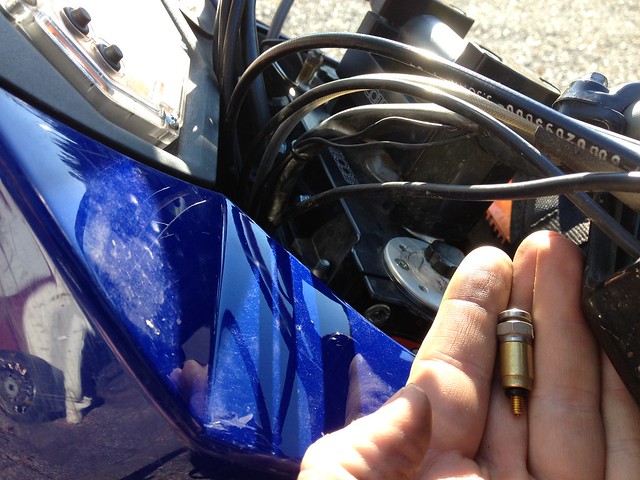
Removed the speed bleeder and placed the stock bolt in place since they are easily damaged:
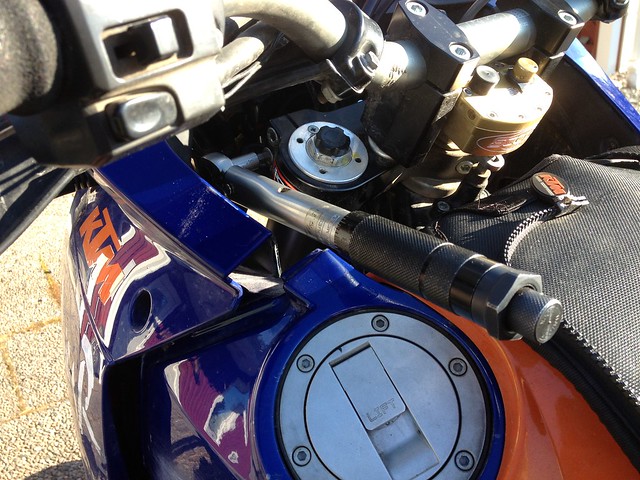
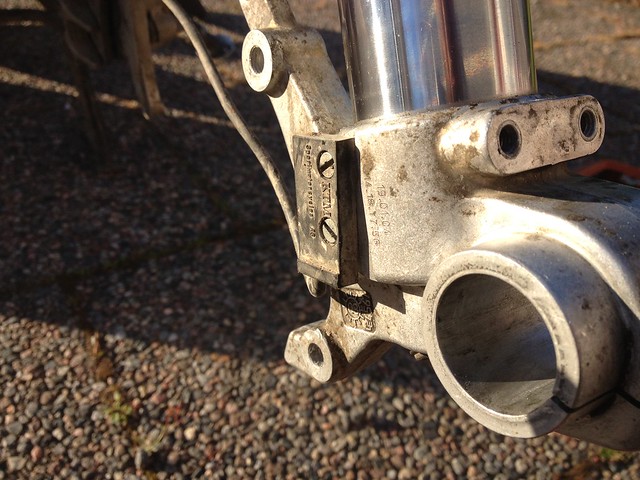
Undoing lower triple clamp:
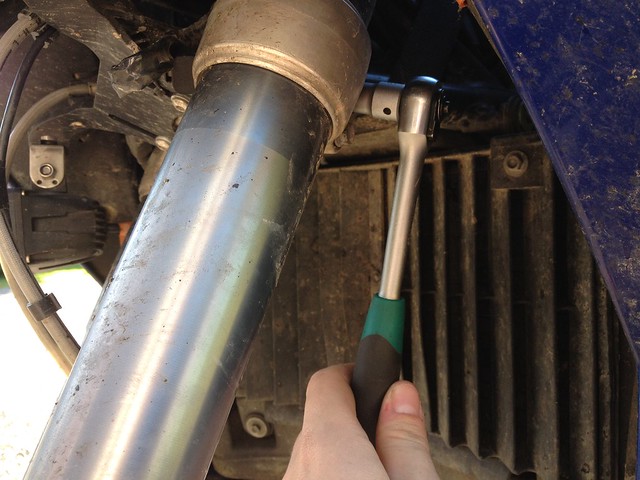
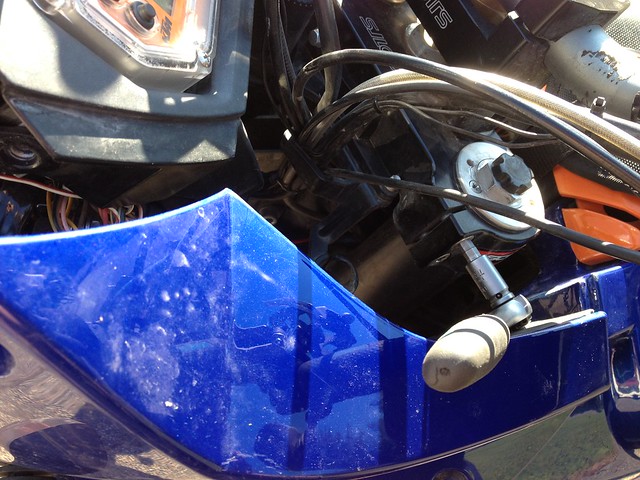
Supported fork leg so it out not slide out, on the second one I started with the top so could do the lower clamp and hold the leg, but here I did it this way around, need to undo the top 3 bolt on the fairing for better access to top triple clamp:
Did them one at a time to not loose alignment of the lower and upper triple clamp and they came out really easy, a good sign that the alignment is good:
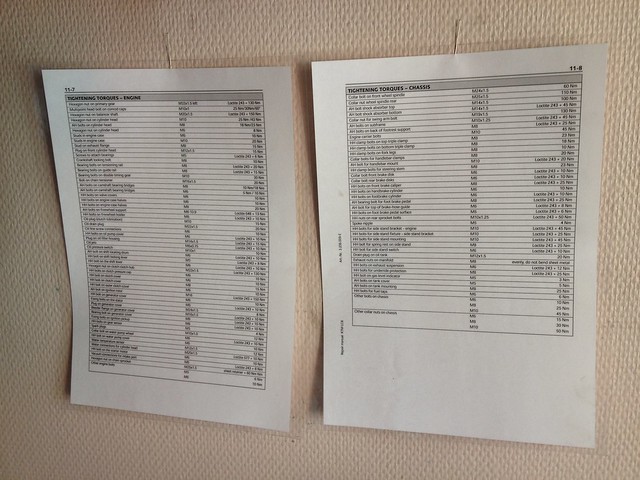
If you wrench a lot on a machine the torques for the bike are good to have printed out and hanging on the garage wall:
Torque wrench to bolt new leg in place, make sure its set correctly and double check your calculation are correct if you are working with one that has a pound scale since KTM uses Nm for torque, extra important to not over tighten the lower clamp cause it will actually squeeze the tube and cause binding on the fork movement.
My manual say 18 Nm but double check with your manual, go back and forth between the two bolts until they are both tightened to the correct torque:

A bit tight getting room to tighten the top to 23 Nm, here also alternate between the two bolts:
Repeat for second leg!
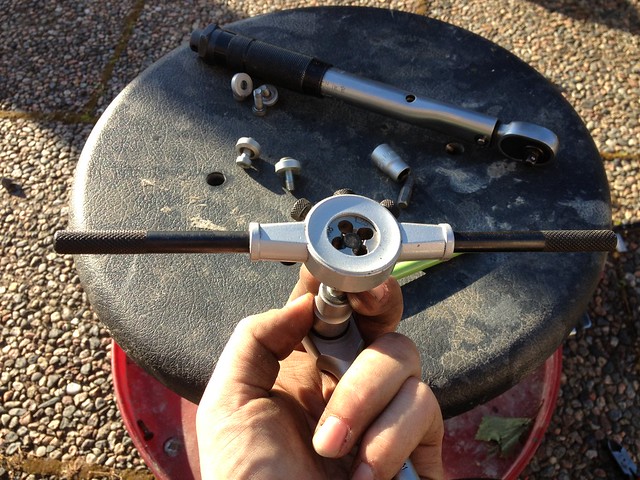
Since caliper bolts call for Loctite 243 and 25 Nm, and since they have old Loctite on them a metric tap and die set is good to have to clean up the bolts and thread in the calipers:
Dont forget to mount speedo sensor:
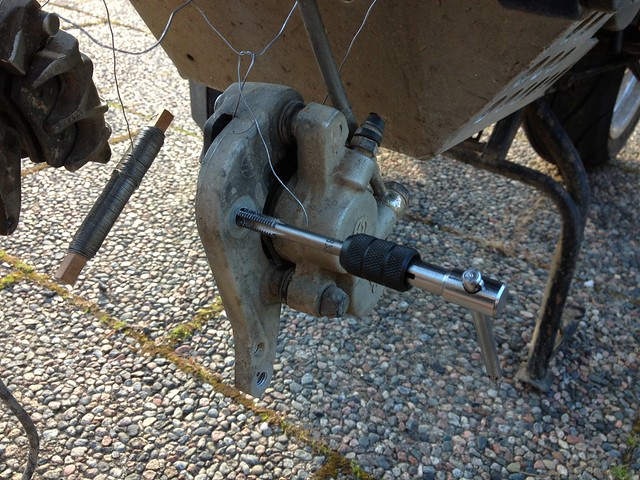
Torquing up the calipers to 25 Nm as my manual says, made sure to have the wheel in place since its the wide Motard wheel, with the stock you can put that back after the caliper and fender:

After that its just the fender and all done!
Leave a Reply