Tried a few times to use a feeler gauge and clean the seal and it work for a little while before oil started seeping out again.
Have a spare set of fork legs so just swapped to them.
So they have been standing for some time in the garage and leaked just standing there.
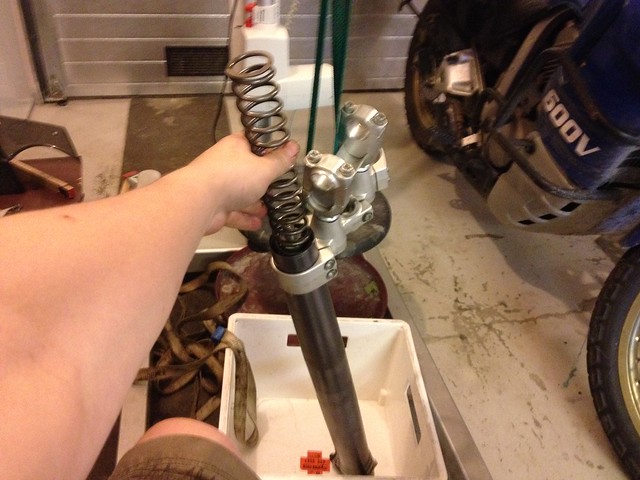
Cleaned them up:

Ordered the fork cap tool a while back but have it at a friend who wrenches more so went and got that, he also had some other things to help out but more on that later:

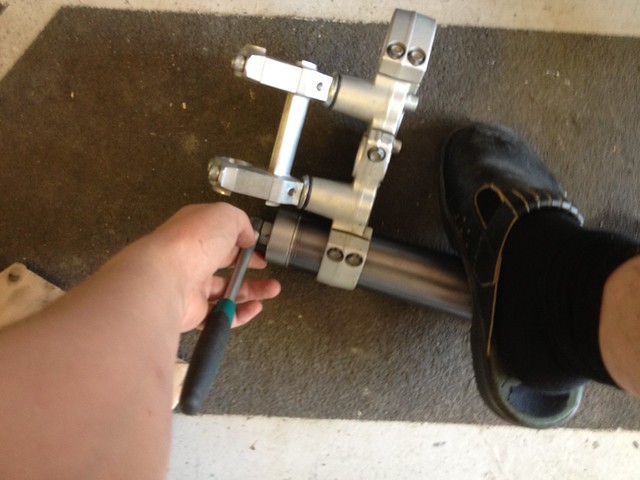
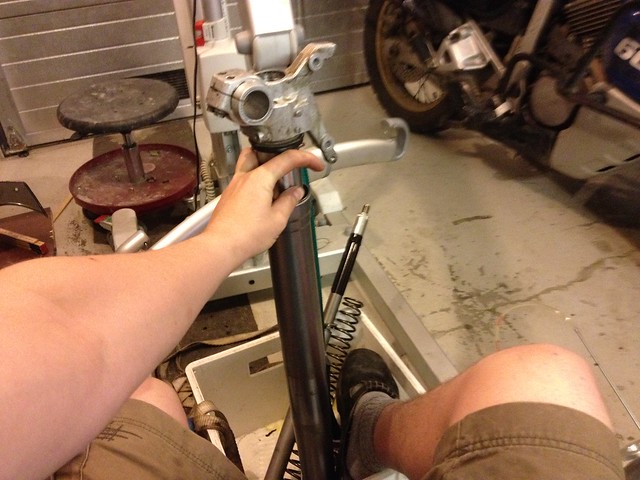
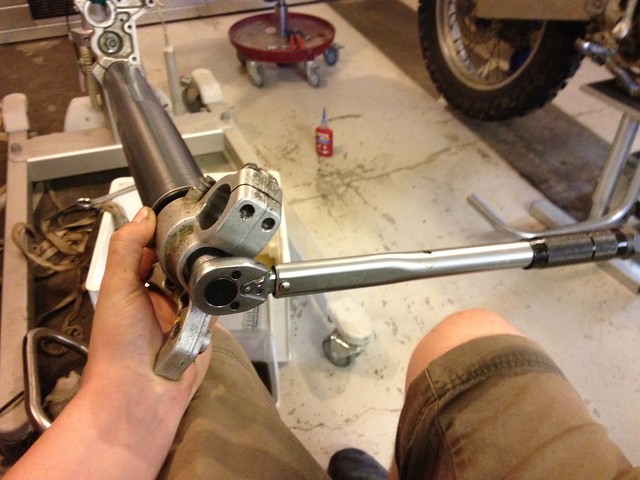
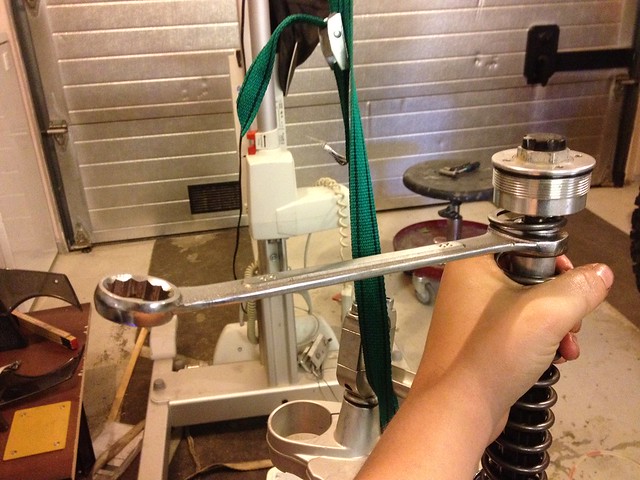
Putting an old triple clamp on it to hold it in place, laying it down and putting a foot on it did the trick to loosen the cap:
Had forgotten to back out the preload so did that:
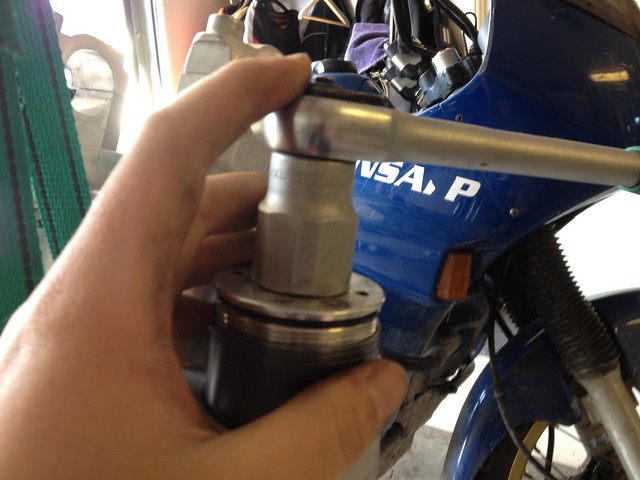
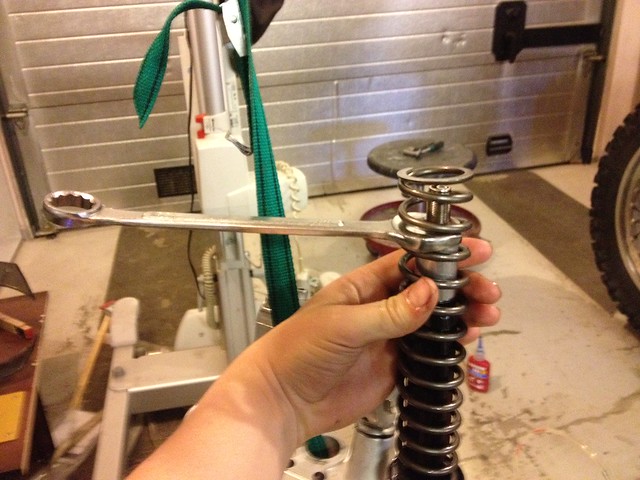
Pushing the spring down and getting the 22 mm spanner in place was a bit tricky, needed to grind the spanner down some since it was to thick:
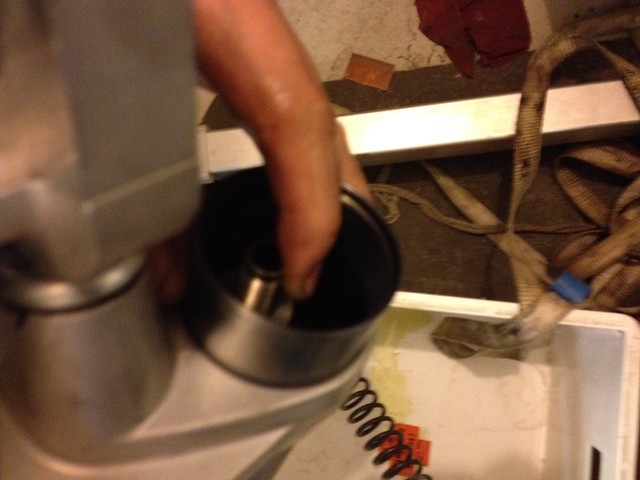
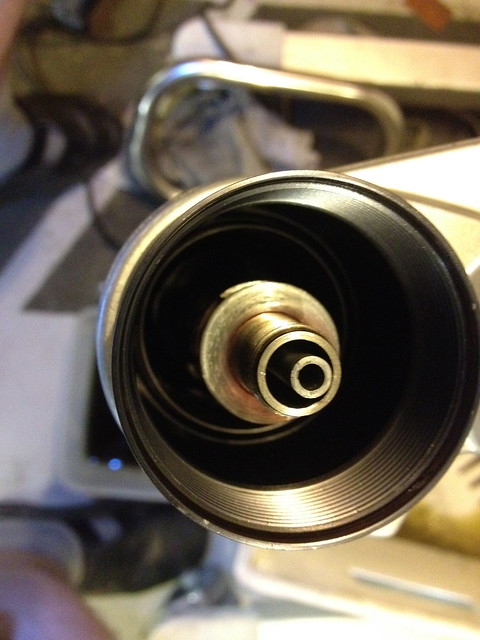
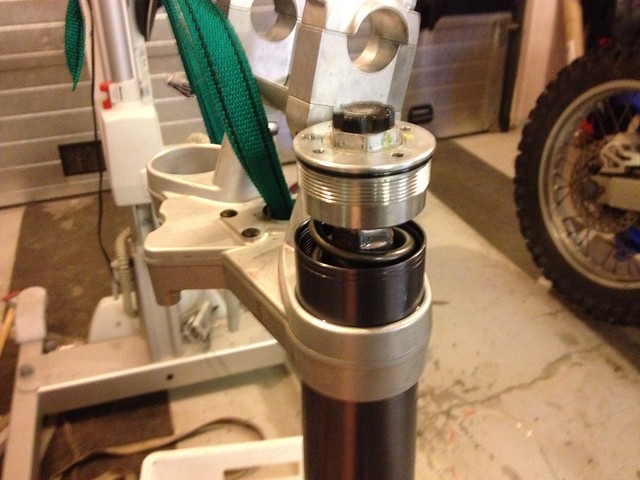
After removing the cap the adjustment tube can be lifted out:
Next the spring:
Pored out the oil, pumped the damper rod some to get more out:
Small screwdriver to remove rubber cap underneath:
There are smarter ways to remove the rubber cap that I learnt later on:
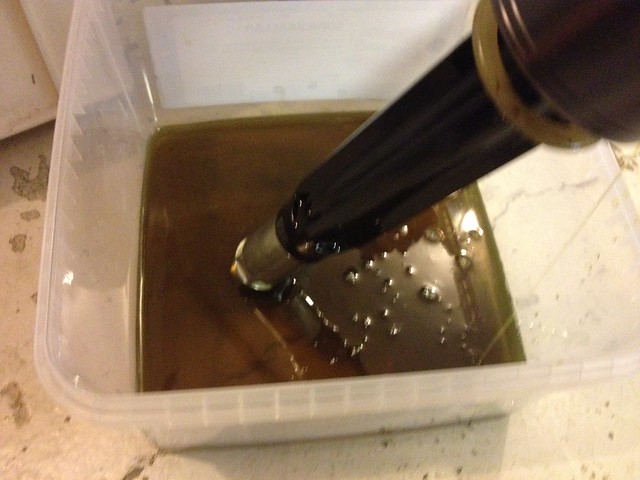
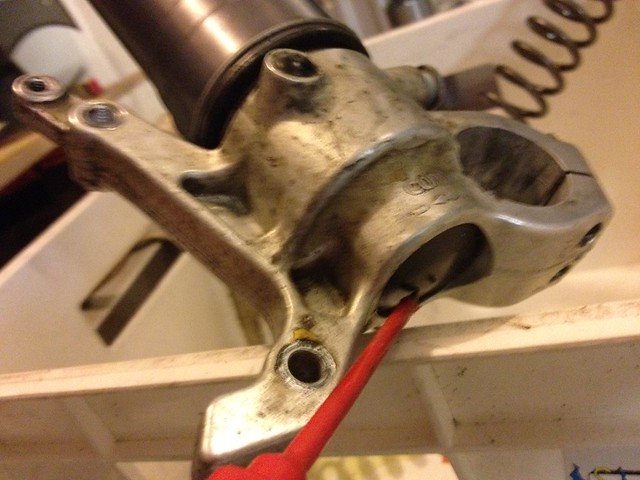
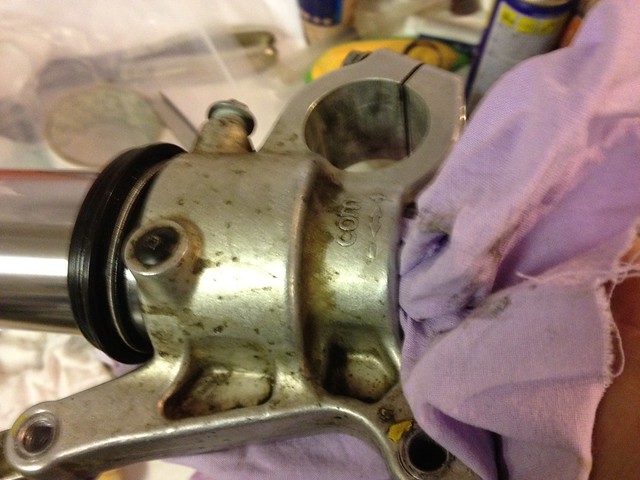
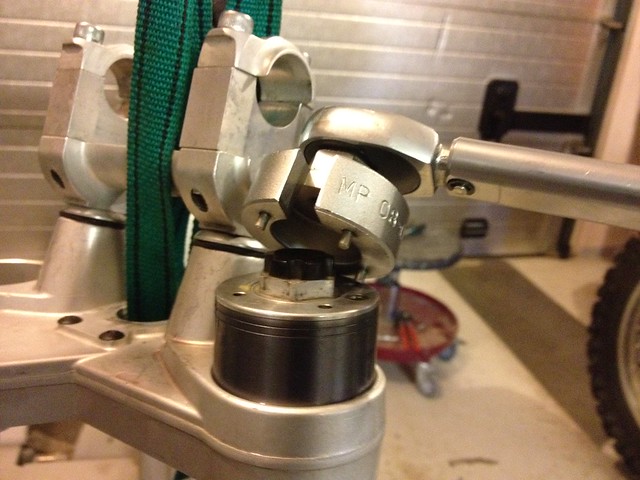
19mm socket and an adjustable wrench on the caliper mount for extra leverage when undoing lower cap:
Just push top to the side some to stop it from spinning some more oil came out the bottom:
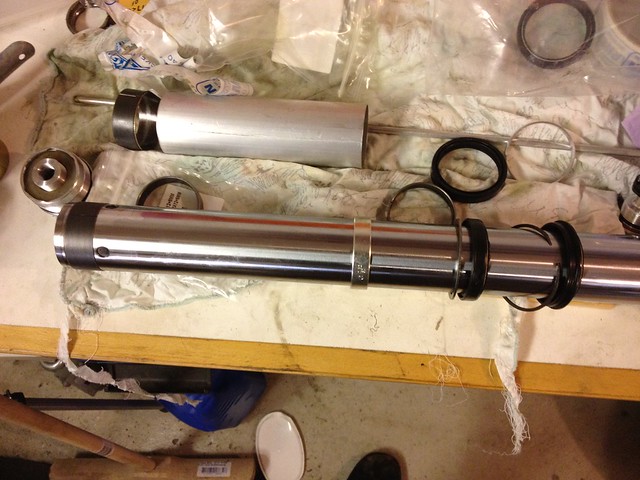
After that the entire damper rod can be lifted out, seen in the back, some of the oil was quite grey:

Removing dust seal, usually start with a small screwdriver and when having a gap change to a bigger:
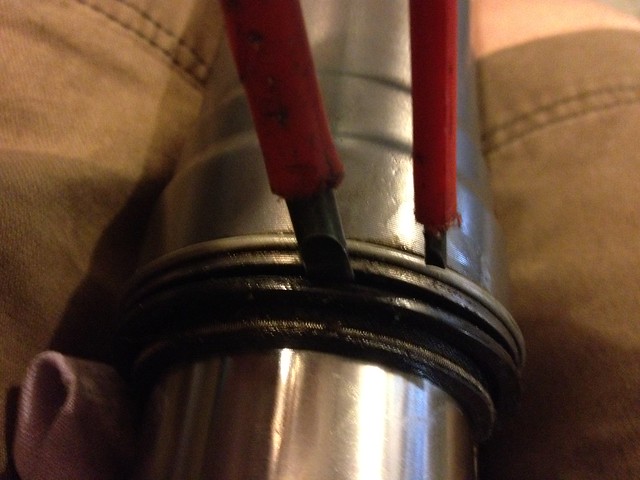
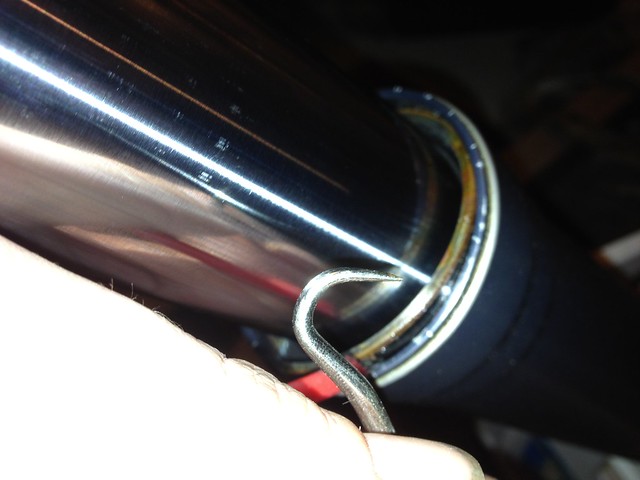
A small screwdriver and a dentist torture tool to get the lock ring out:
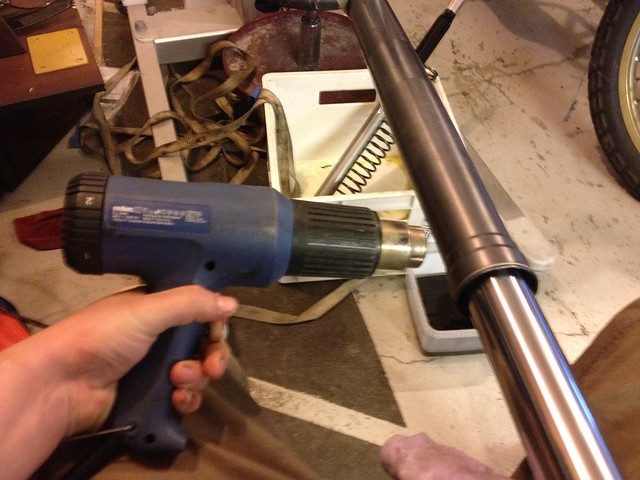
Also heated it some, still was hard so on the second one I didn’t heat anything and it came out easier so maybe I overheated it:
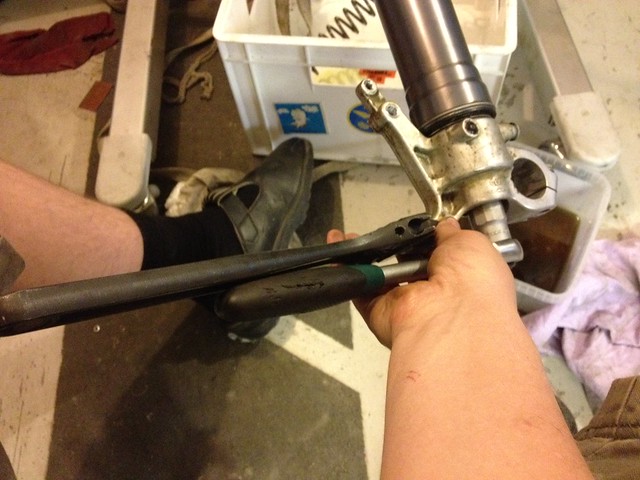
Still had the extra triple clamp in place to turned it upside down and put my foot on that and pulled the lower leg up:
Apparently they have changed the bushings and distance tube for later models so yours might not have all of this junk:
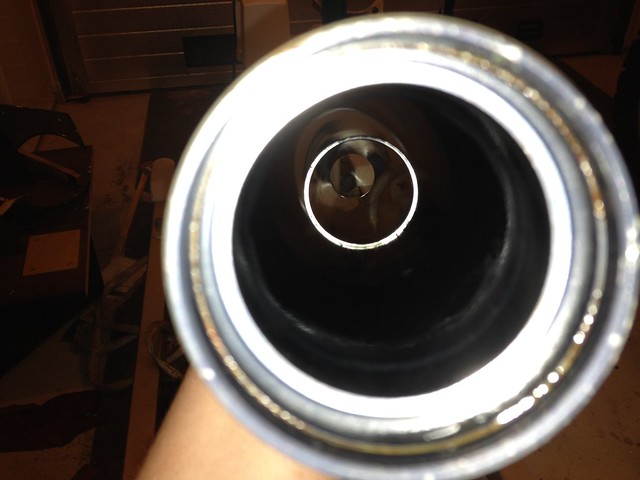
Cleaned the bottom with a rag and a finger through the hole in the bottom:
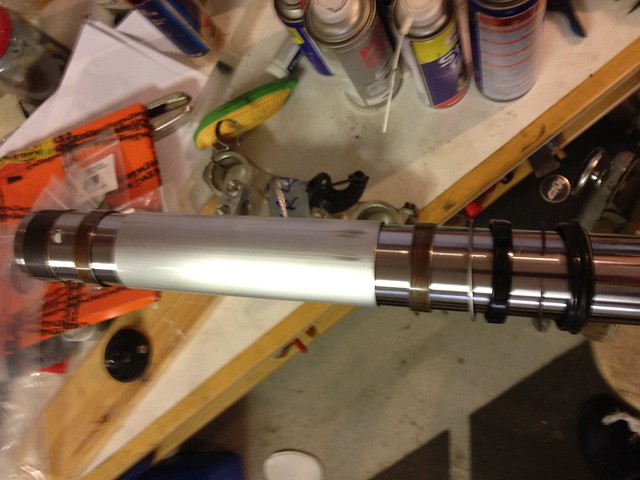
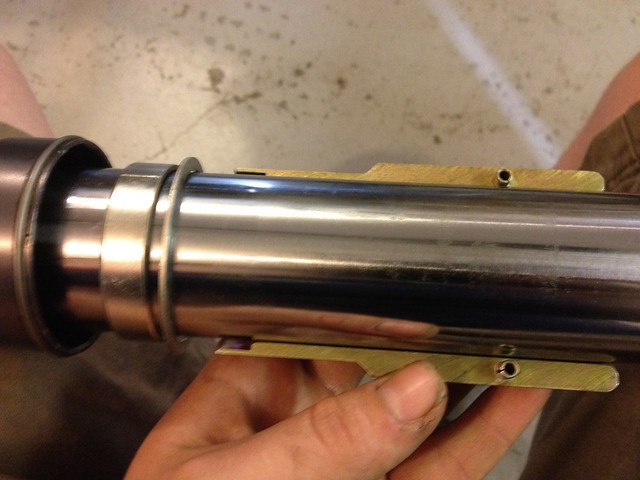
Taped the end to protect the seal and used some Ultra Slick Seal lube:

Choose to skip the extra bushing and spacer tube so this is before assembly:
Thought the upper stopper for the extra bushing would cause trouble putting things back together:
But it slid right in so using a seal driver to push the bushing in place:
Some fork oil on the seal and the seal driver to drive it home:

Lock ring, important that it gets seated properly:
Damper rod next:
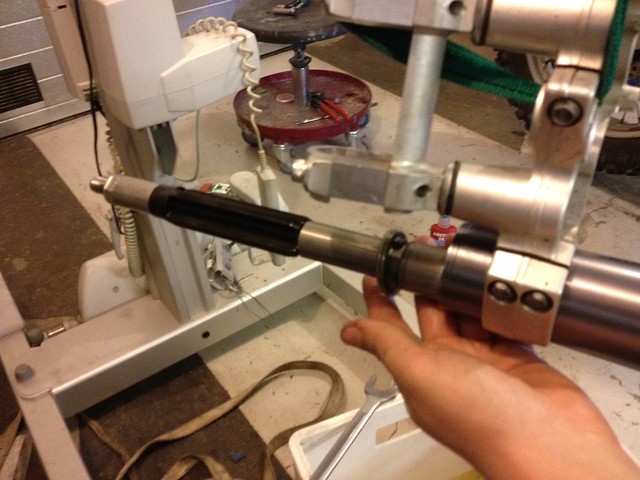
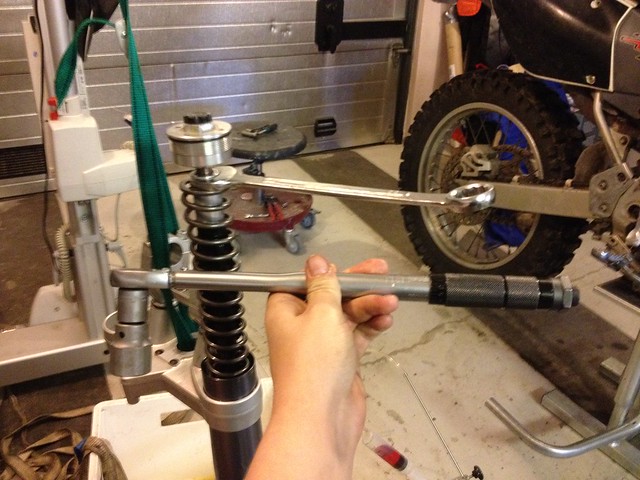
19 mm socket and torque wrench set on 25Nm, it needs to do the same as when undoing and holding the top in place to stop it from spinning:
Filling it with oil above the holes in the lower leg, pumping the damper rod to work out the air:
After that pumping both damper rod and upper tube.
Suction tool for setting air chamber, I went for 100mm:
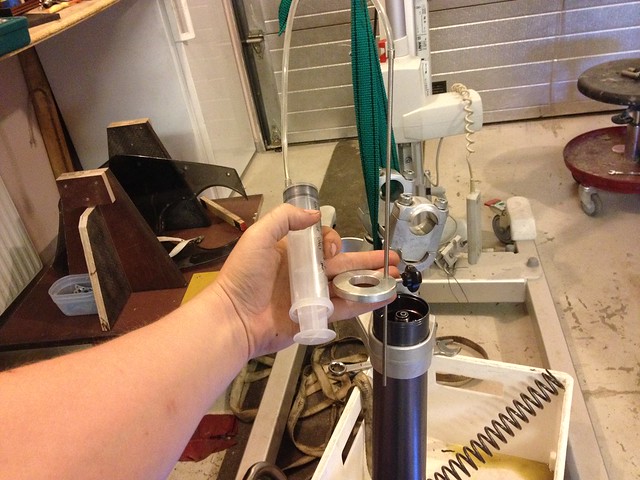
A bit tricky getting the damper up inside the spring:
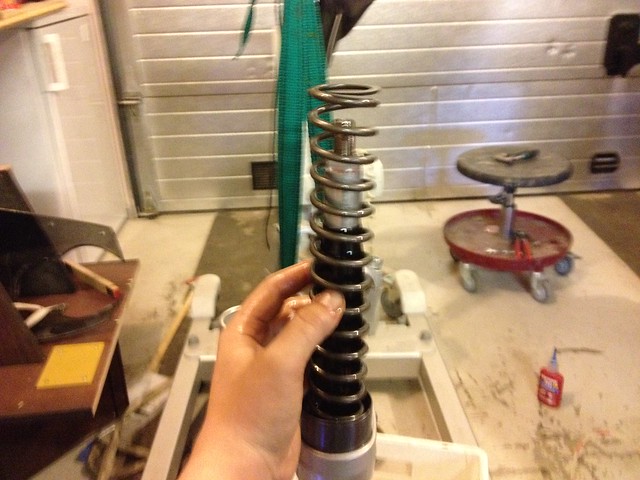
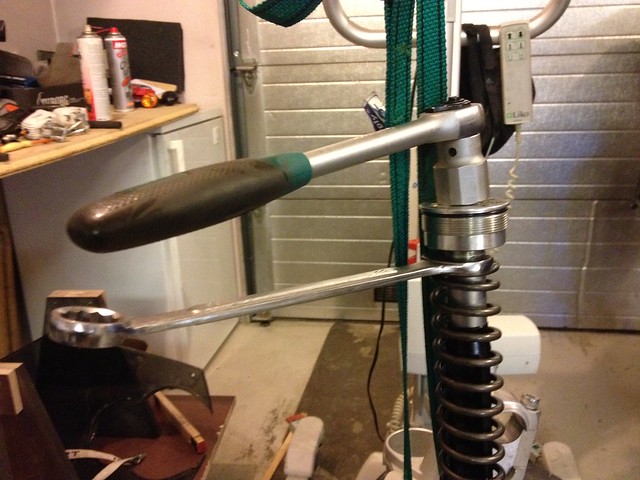
Putting spanner in place and winding the spring to work its way up is the way to do it:
You can get it high enough to get the cap in place:
Pull spanner out push spring down and 24mm socket to torque cap to 25Nm:
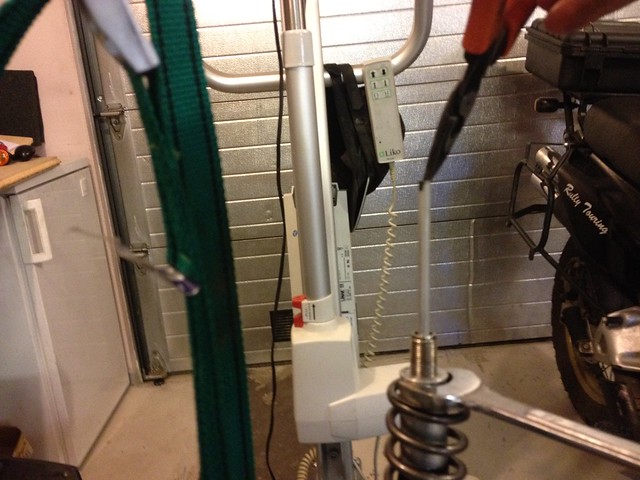
Pull tube up and screw cap in place almost done:
Could not find any torque for this but went with the 25Nm using the fork cap tool:
Parts list:
- 2x 48600429s LEADING BUSH 48X52X12+8MM
- 2x 48600428 DU-BUSH D47XD49X20DDL02
- 2x 48600399 OIL SEAL RING 48X57,8X9,5
Might be other parts that work also but these are the parts I used.
Was some trouble with the rebound adjuster not working as it should so had to tear them apart again and look over the rebound valve.
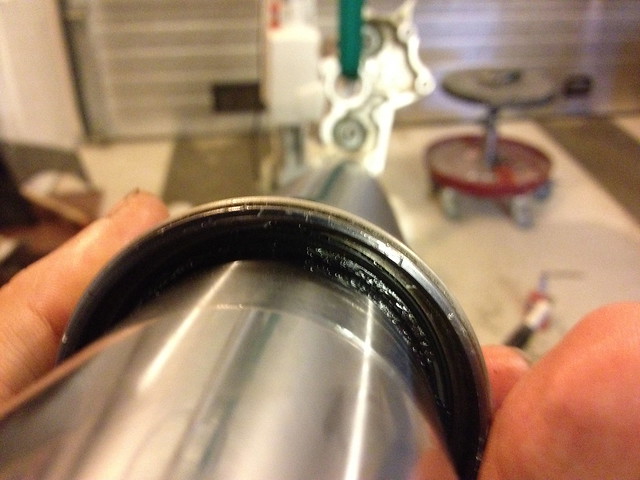
The seal on the picture with taped fork end has wrong direction
I assure you that is the correct way to install the seal, its a double seal with lips in both directions.
If you undo the dust seal on a WP fork you will see that the actual seal also have a small spring around the seal lip and that can be seen so it must be facing down when installing on the the lower chromed part of the fork leg.
/Johan
Cheers mate. Just did my first oil/seal change with the help of your blog and youtube videos.
Glad it was helpful =)
Hi, I know this is an old post, but I have not been able to find an answer to this: Are the 2004 adventure forks compatible with the 2005 and so on bush and seals kit? all but one of the guiding bushes and seasl seams to be the same specs, the top guiding bush on the 2004 parts is 48x51x12 and the one in all the other kits is a 48x52x12. Paying close attention to your post i realize you assembled it back without that bushing, the one on top of the tall spacer that you also did not instal, am I right?
If you can answer my question, I will be so grateful, if not I am grateful already for your awesome post, that I’ll use as guide for rebuilding my pretty old, that has had like 5 previous owners, 2004 950 Adventure
PD, ill try to rebuild it with kit # R14053 o R14009(this one is cheaper)
TY /Alejandro from Colombia, Latin America
Yes what you write is correct, did double check and if you do as me and skip the spacer and that extra bushing it should be possible to buy the cheaper R14009 kit (think it might be the same kit for the suspension on many of the smaller KTM enduro bikes also.
Some people talk very highly of the SKF seals but its simple to just order the kit an get everything compared to getting the seals from one place and bushings from dealer.
Good luck and hope you get it sorted out, and that you have checked out the post http://www.dirtyadv.com/wp-fork-leg-tips-and-trix/ and maybe prepare to break it apart to check the condition of the rebound valve.
/Johan