Haven´t had the time to keep up with this website as well as I would have liked.
But have started digging into the XR400 engine that had a toasted piston, more on that later.
And started setting up the new 990R Adventure.
One of the items I really wanted to have easier was the air filter maintenance.
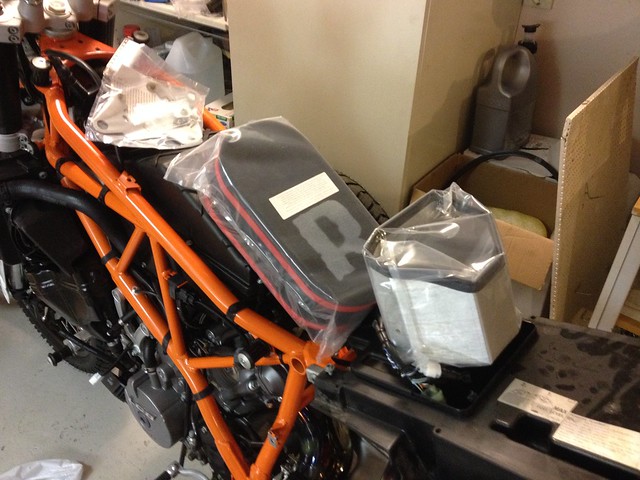
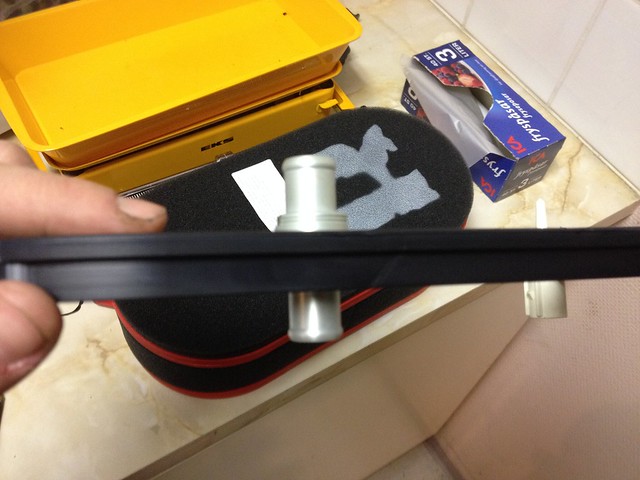
I decided to go with CPR performance and went with their trio of items:
Thought I would share my experience installing these products and maybe help out anyone thinking about going this route.
Parts to be installed:
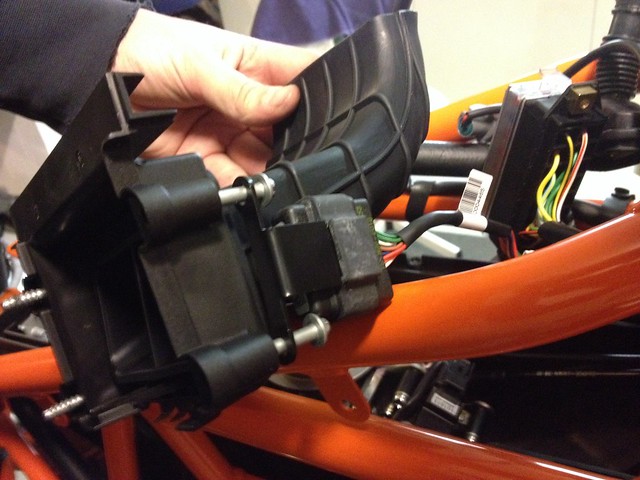
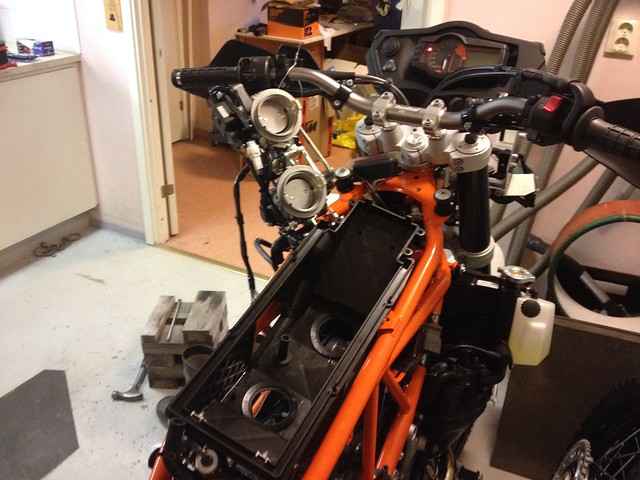
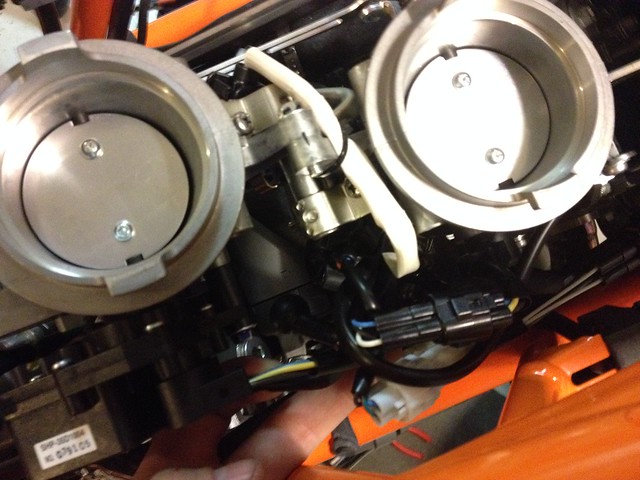
Stock air box had to go and a hose plier helps:
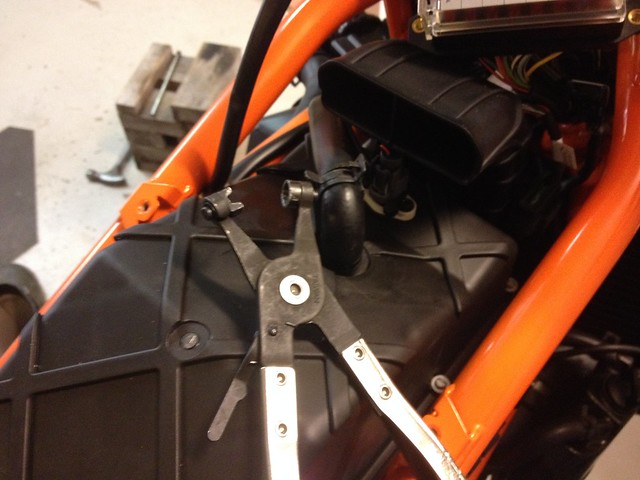
Cut zip ty to get sensor connector off:
Lid gone:
Fuel injected bike have some extra junk stuck to the snorkel:
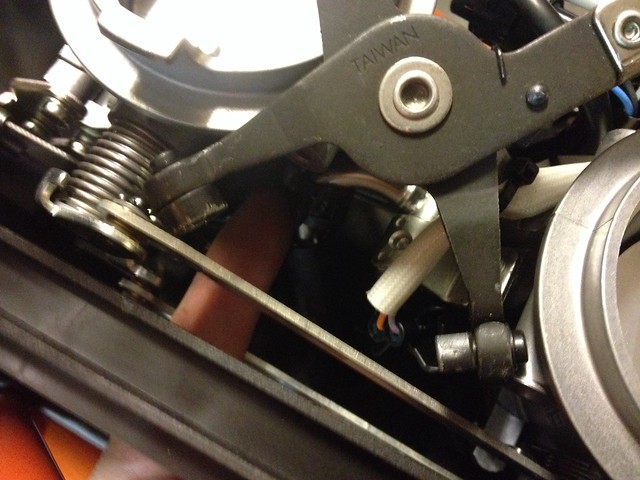
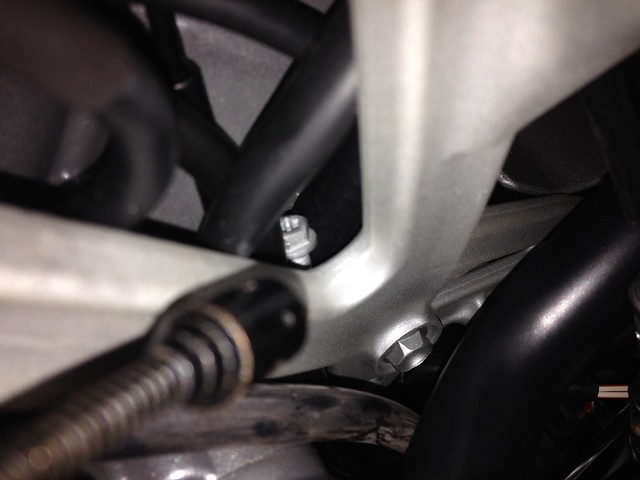
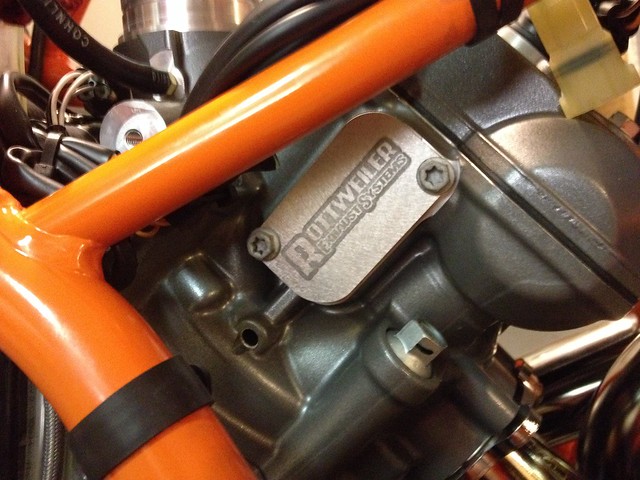
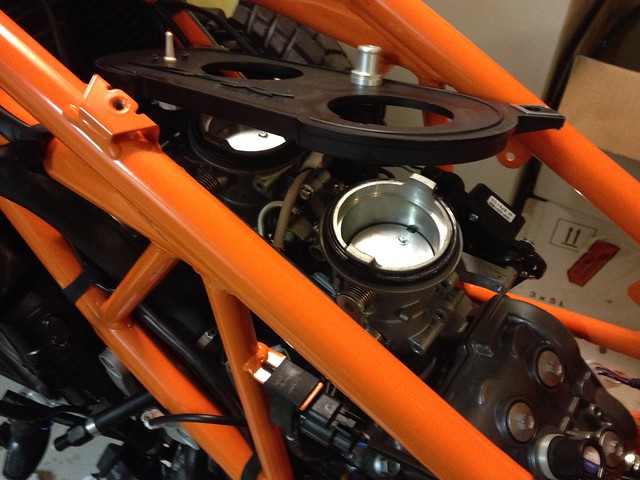
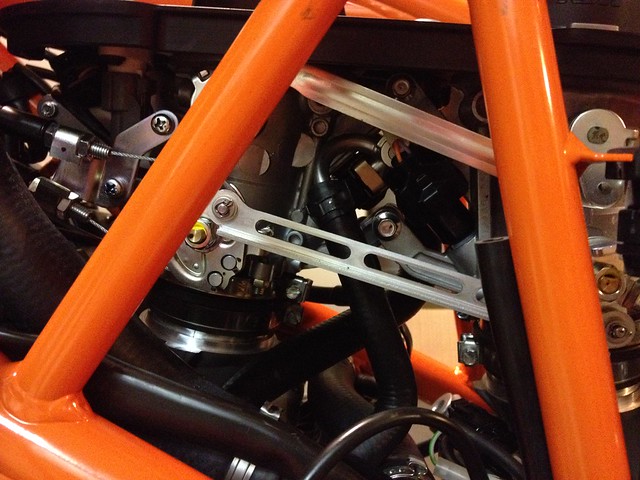
Triangles gone, lower clamp on the “carb” boots need to be loosened, on the old 950 the access to them were from the right side on the 990 its on the left side (could have been swapped by KTM mechanics during service before I started doing them myself).
There is 2 clamps on each intake boot, loosen the lower clamp, take care not to undo the bolt all the way since there is a spacer in the clamp that can fall out and can easily fall into the intake.
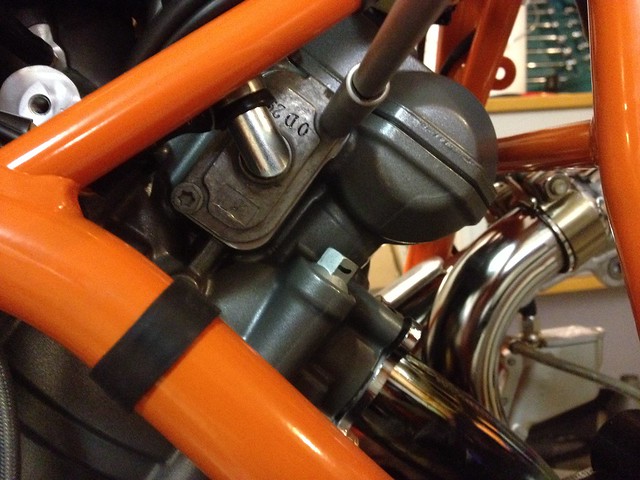
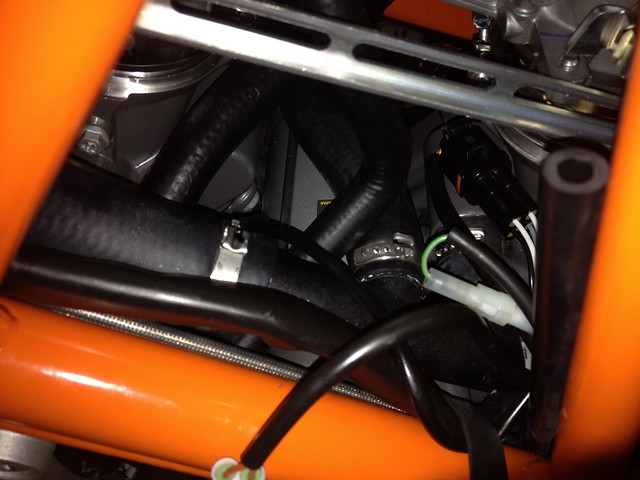
Fuel hose clamp also need to be removed, attacked it from the top and brought it up since hose wont come out the hole with clamp around it:
Since SAS plumbing was going away also I unbolted rear hose plate:
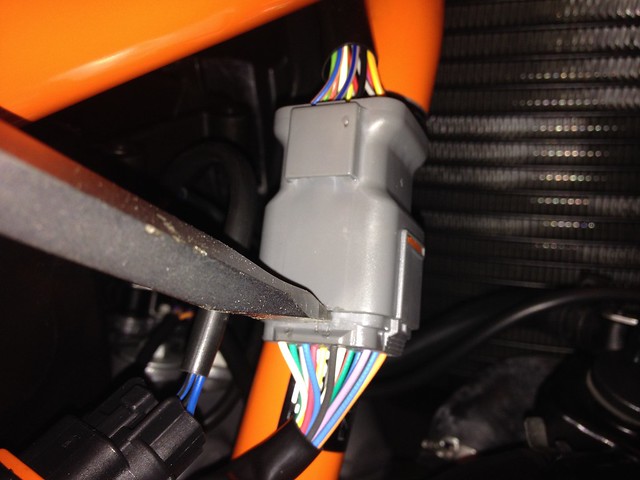
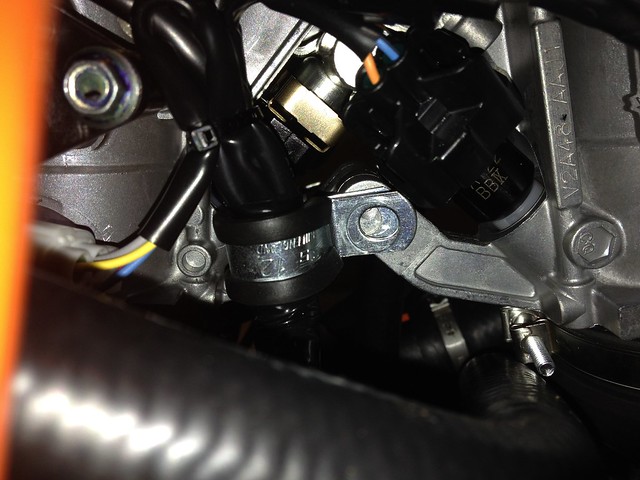
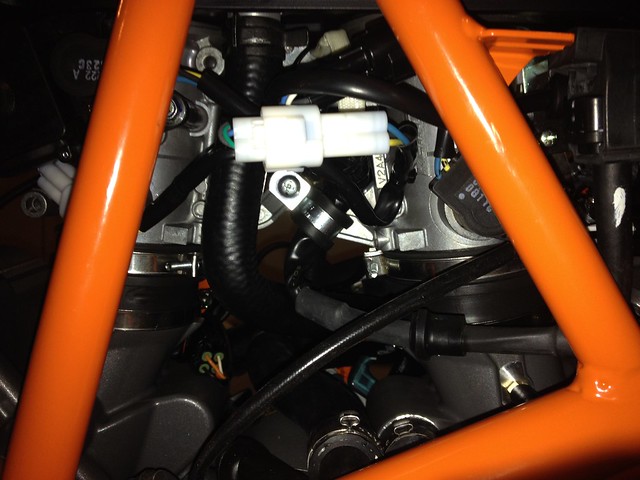
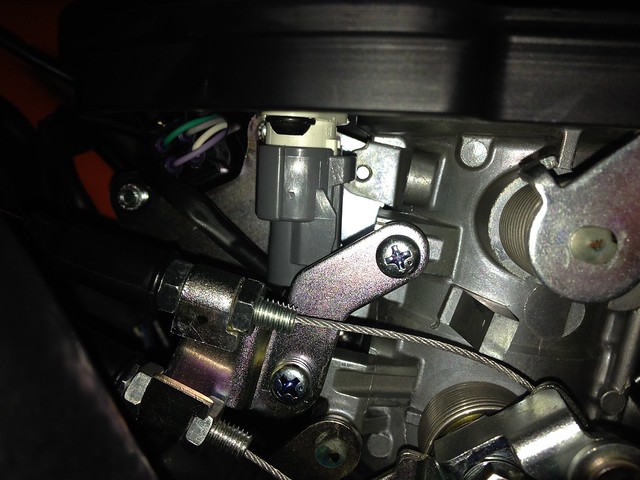
This connector goes to the junk on the back of the air box:
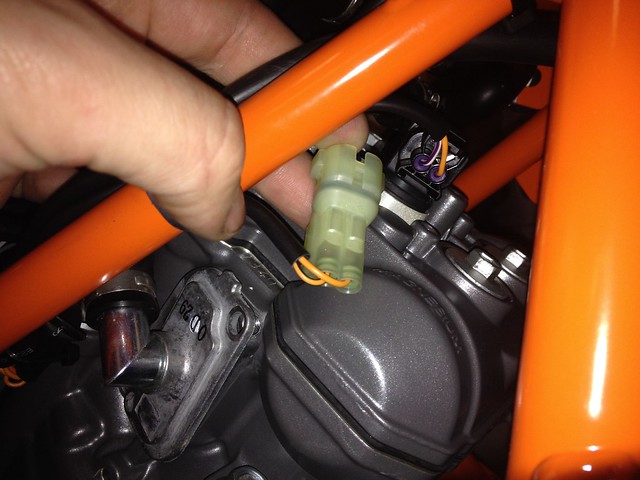
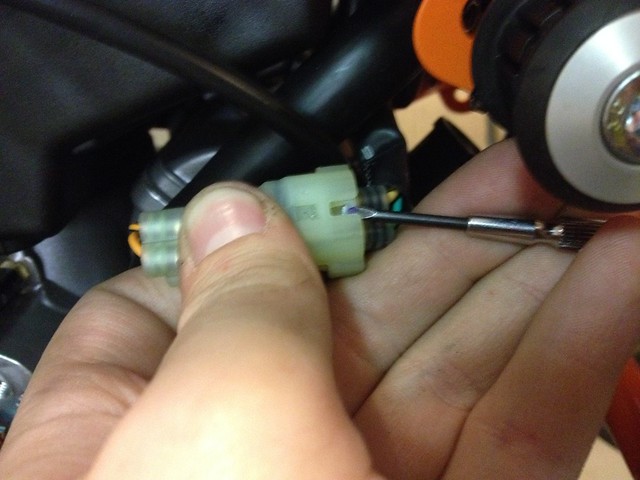
Was possible to twist it out so it was easier to disconnect, small screwdriver to undo it:
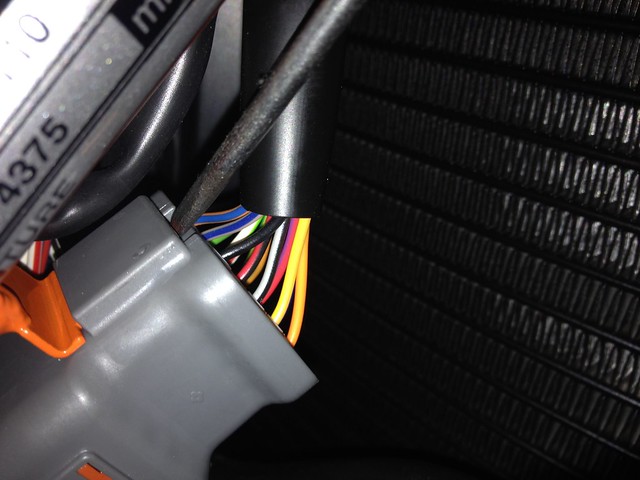
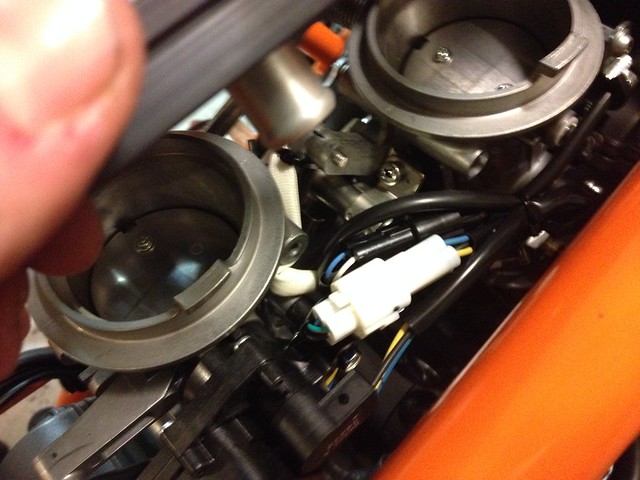
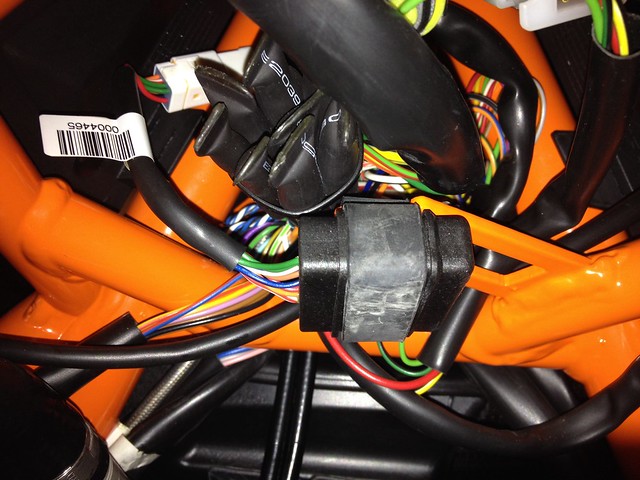
This huge ass connector runs into the air box so it was to come apart, undoing it from the frame helped a lot once the lower part of the air box was on its way out it was possible to move to a better position to get it apart:
“Carbs” lifted and lower air box moved a little to the side big ass connector moved out:
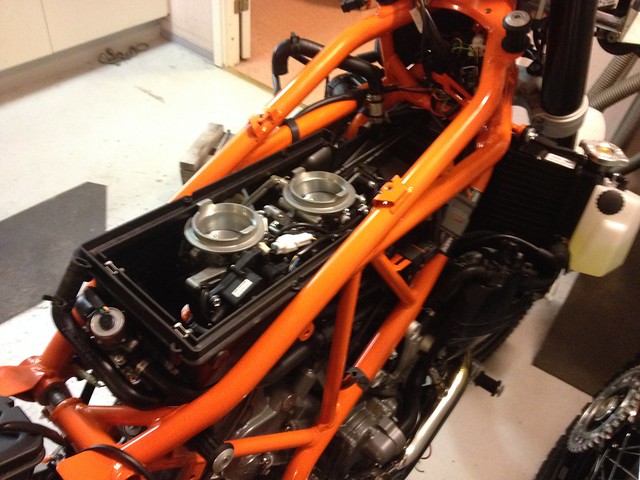
Big screwdriver to help pry it apart, a lock tab on the other side that had to be pressed at the same time, was quite hard to get apart:
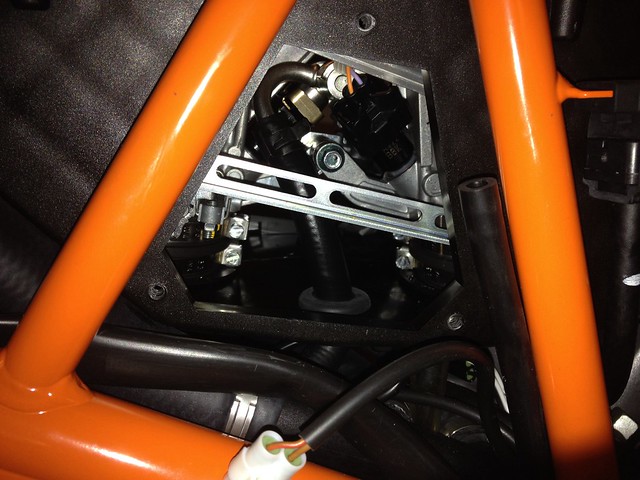
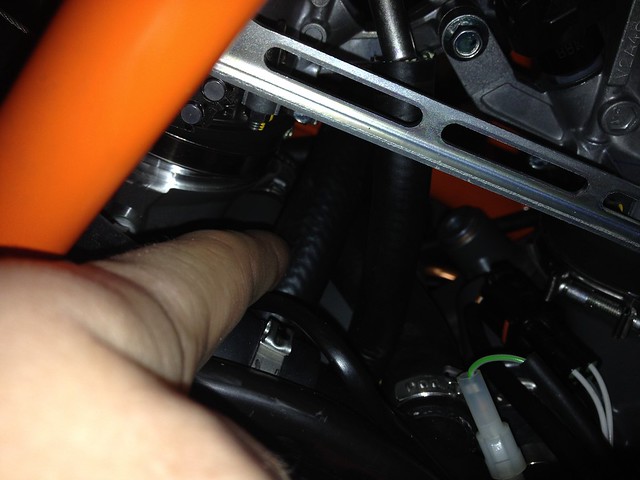
Securing the “carbs” out of the way with a piece of wire so the lower air box can be moved to get access to the front SAS hose connection:
Some rags down the intakes to keep stuff out of them, and its tight down by the front SAS hose connection:
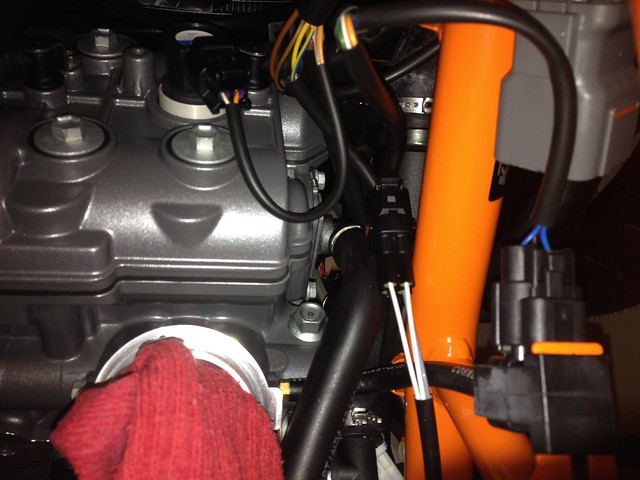
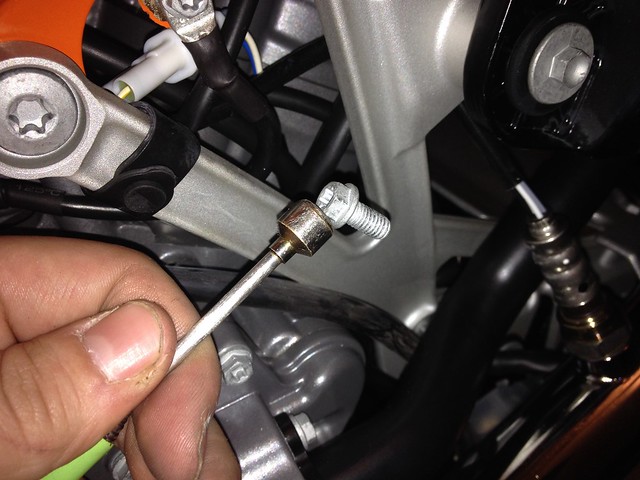
Was possible to get a wrench down there and undo the bolts, then my thin fingers could undo the rest going in both from the top and back, undoing connector to front spark plug helped a little:

Lower air box coming out:
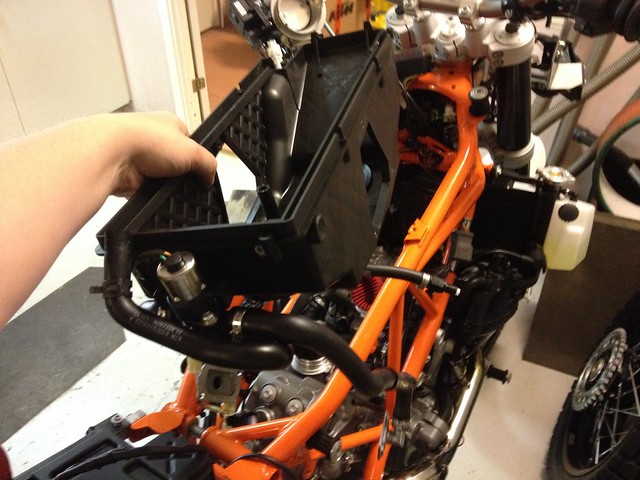
Had a bolt on the loose but found it:
This is a tool I really like, all garages should have a magnet pick up tool.
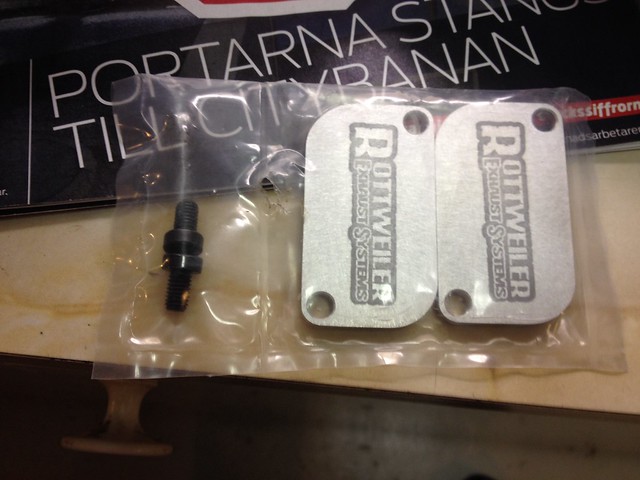
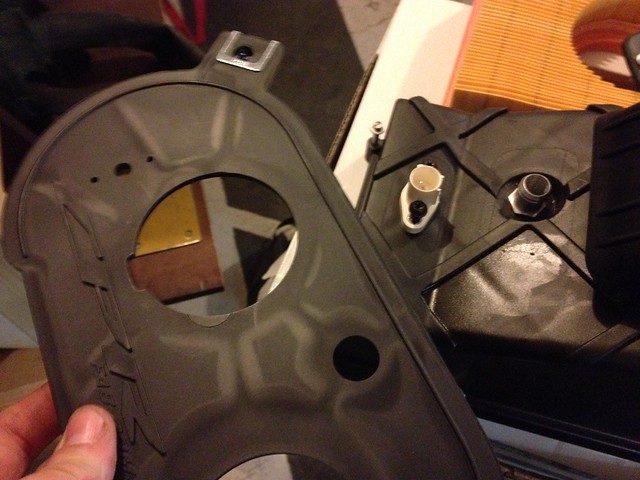
Blanking plates, since my bike is a EU model there is no canister like the US model has and apparently no need for the supplied bolts for plugging something?:
Front was hard to get in place, if you have thick clumsy fingers get someone to help!
Rear was easy:
Transferring air sensor to new base plate:
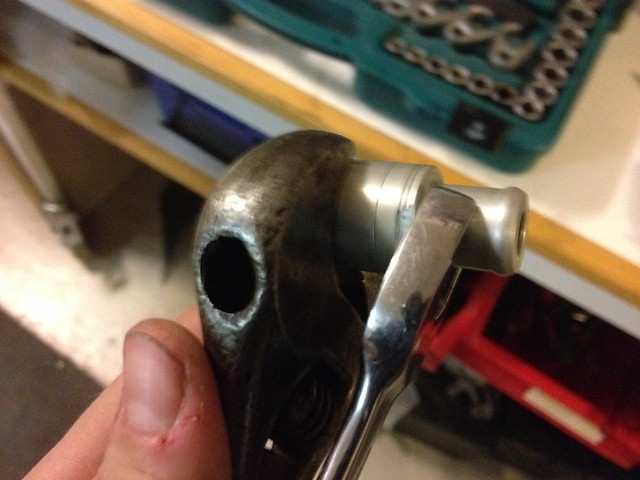
Screwdriver to get check valve out:

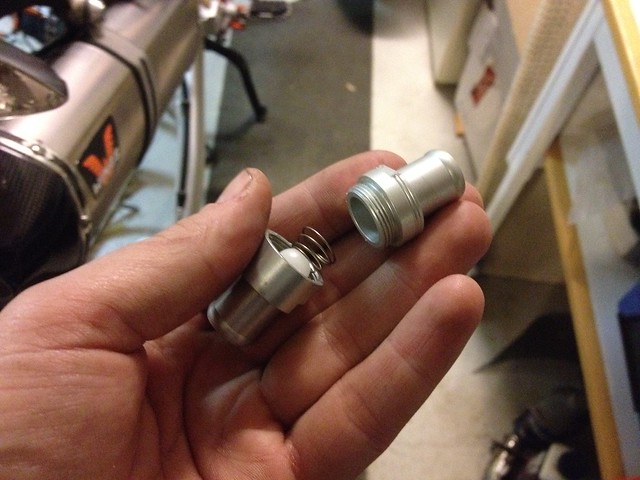
Once out it had to come apart:
Dont loose the ball and spring thats inside it:
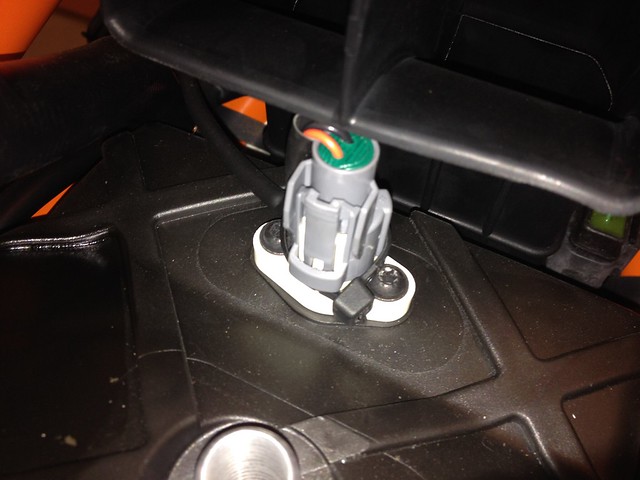
Sensor and valve in place:
Crank case ventilation hose was pulled out and rerouted between the “carbs”:
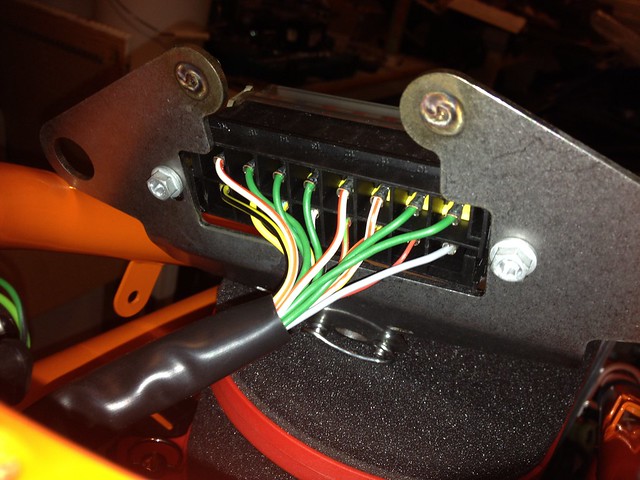
But were the hose should connect to the base plate there is a bunch of cables:
Undid the clamp holding most of them and a few small zit ties:
After working them around to find the best way to make room for the hose I came up with the white cable move a little forward:
Clamp was flipped to move it a little forward:
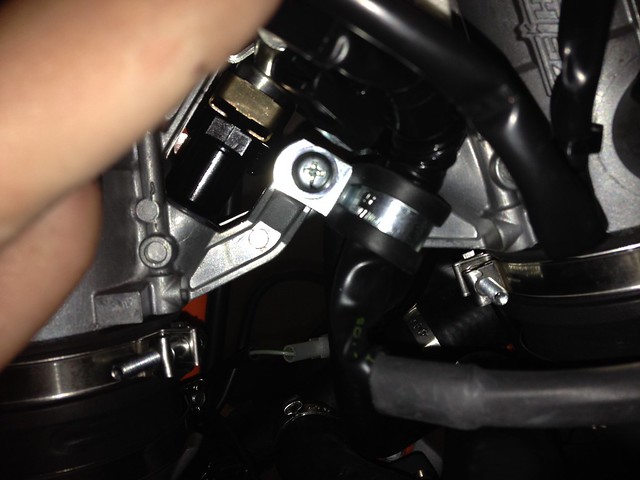
And hose can come up, did not cut it but its a bit on the long side:
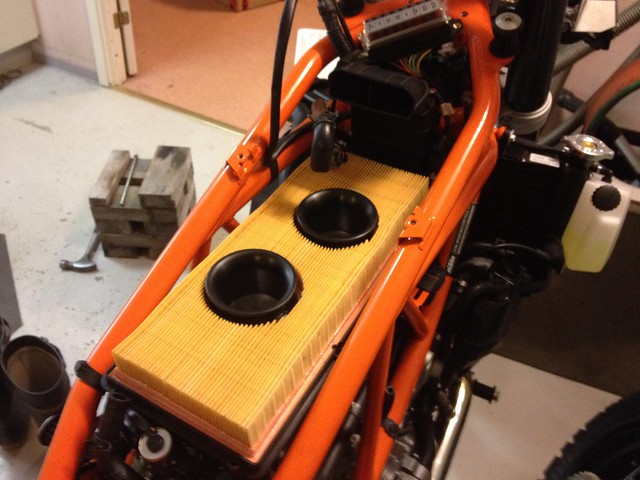
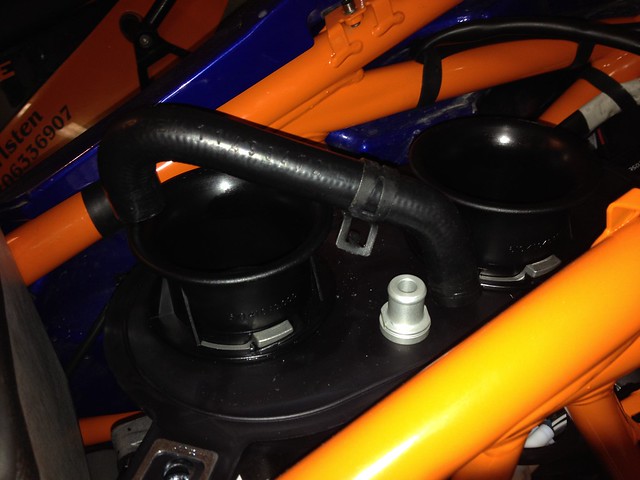
Seals going in, added a tiny amount of grease on them:
Pressing down on the base plate near the seals made it easier to twist the trumpets in place, choose not to install a hose on the check valve for the crankcase ventilation, will see if that will make a mess or if the intake suction is strong enough to suck any vapor/oil in, read that some people find it tight to get filter in place if adding the hose as the instructions says, time will tell if it will work:
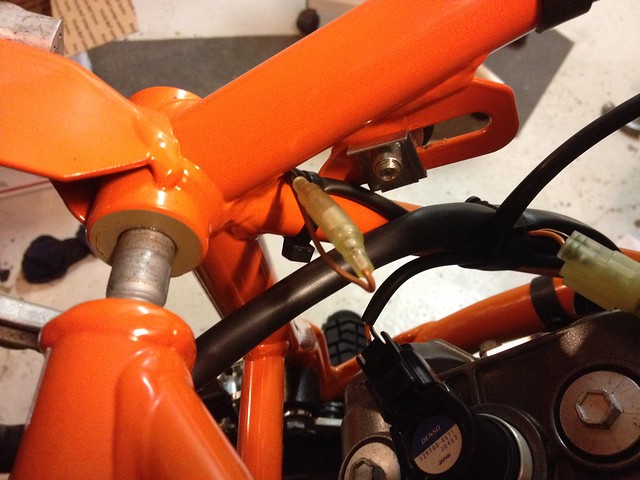
Reattached fuel hose:
Also move the cable to the oil pressure switch on top of the hoses, had that underneath the crank case ventilation hose and it was press down some:
Wonder if I ended up placing the air sensor the wrong way, tab do undo it is facing inward now:
Routed cable up and secure on the tab of the base plate:

The electrical gizmo that was attached to the snorkel could be relocated to a tab on the frame:
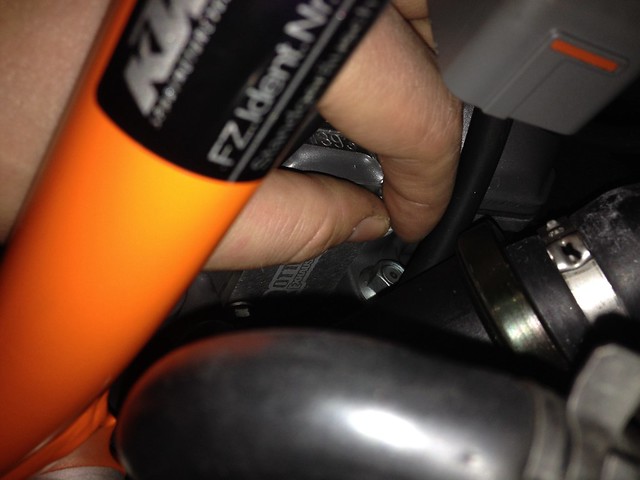
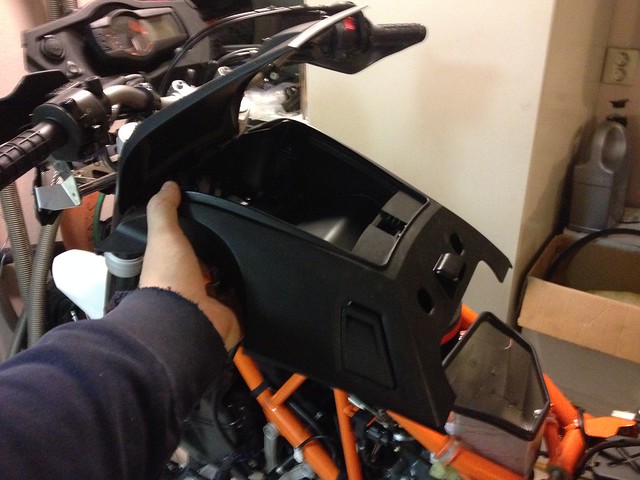
Next up Dog House, moved the low octane cable out of the way:
This is pretty straight forward installation, but I should have placed the bolt from the inside, have nuts in there now that stick out, will flip that later:
Gave doing a Snap Out Dog House a try.
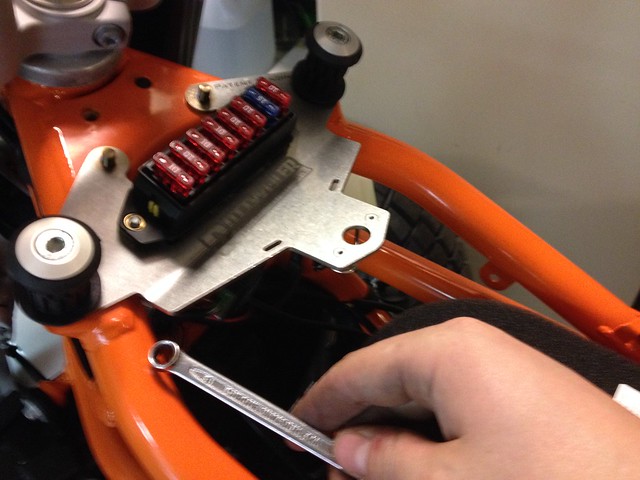
Snap out bracket, a little loctite on the bolts and securing the fuse box to the bracket, but did not tighten up the bolts all the way:
Used tank bolts and rubbers to hold bracket in place:
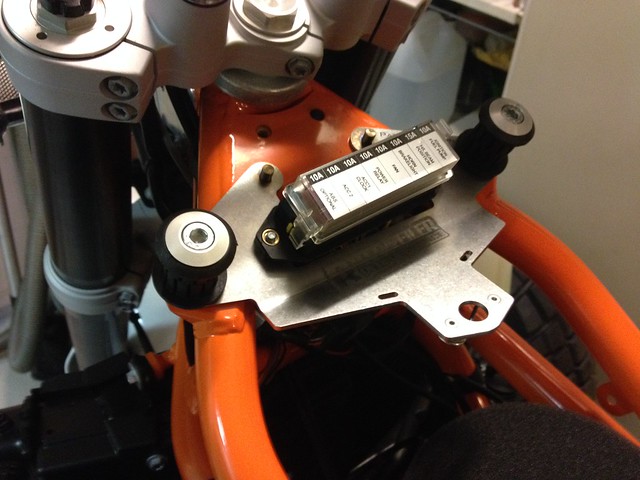
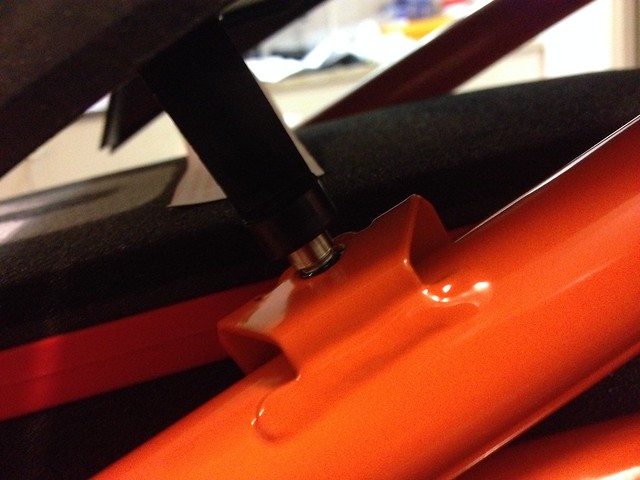
Guide bolts in place:

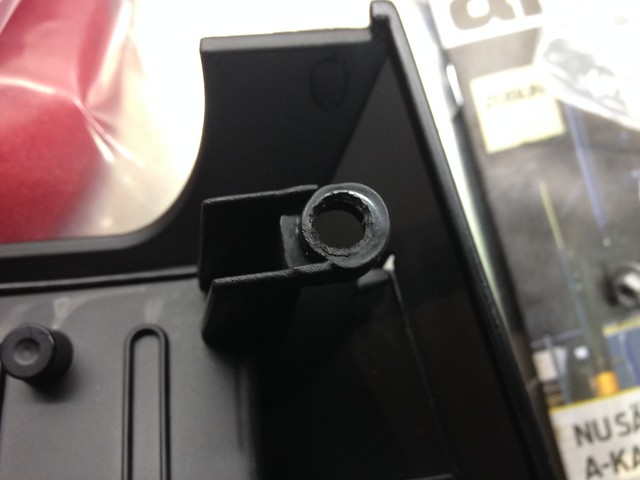
Bolted the glove box parts together the CPR way to remove it as a unit!
One of the rear holes did not want to slip over the guide bolt:
Tried countersinking the holes a little that didn’t help:
Holes were not very centered:
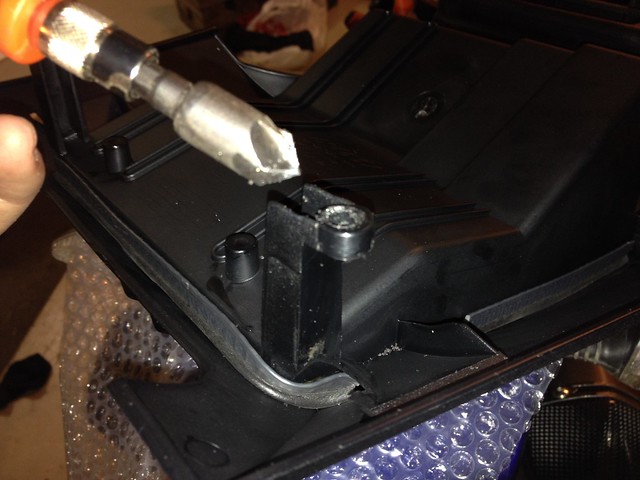
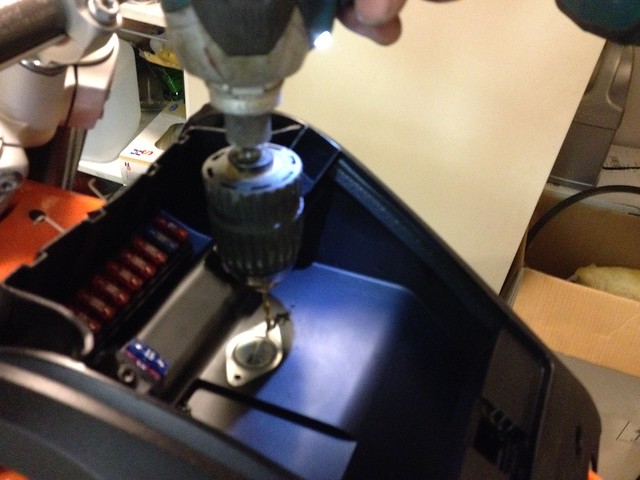
Enlarged them a little with my trusty rotary tool:
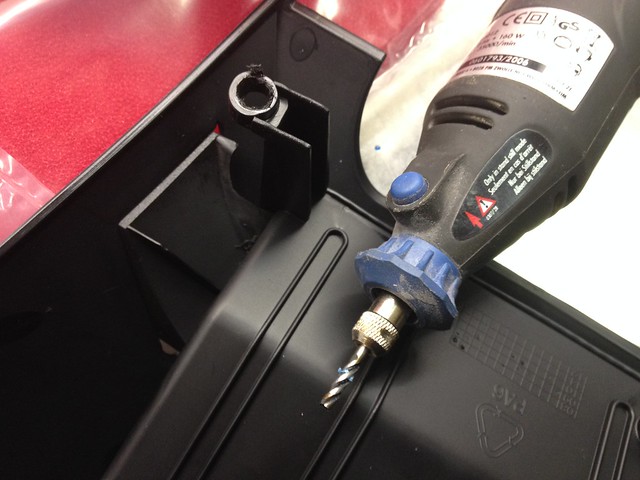
One of the guide bolts was a tiny bit bigger then the other so ground that down a little also to make things go into place really easy.
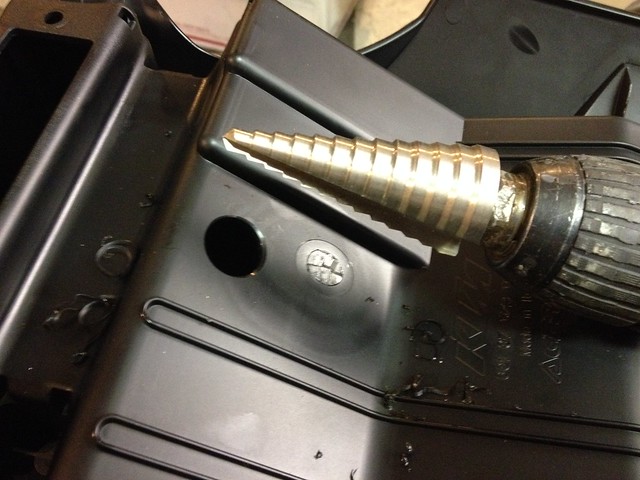
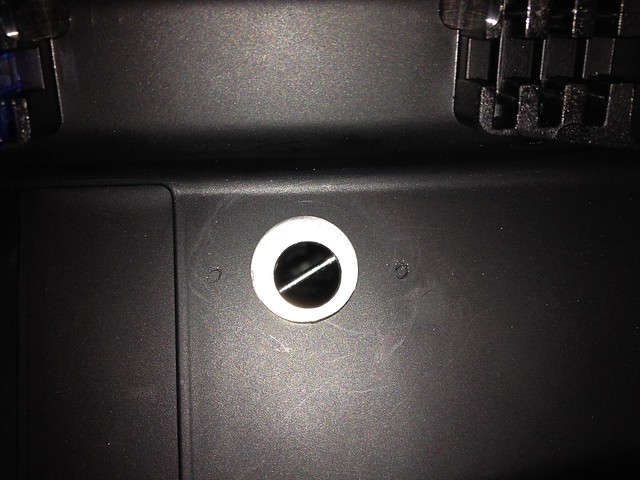
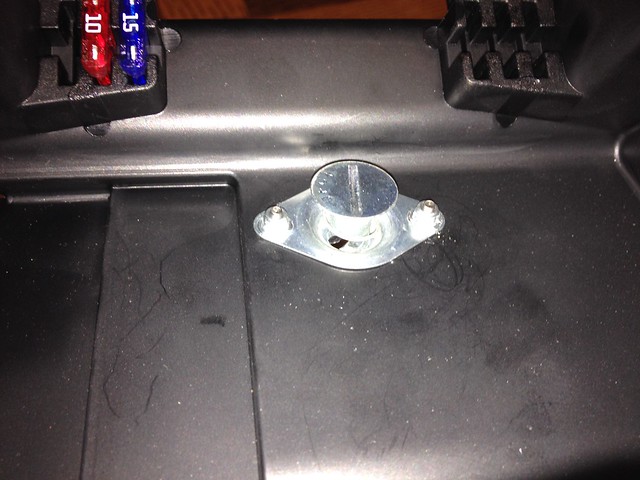
Marked out the location for the DZUS fastener and used a step drill to make the hole:
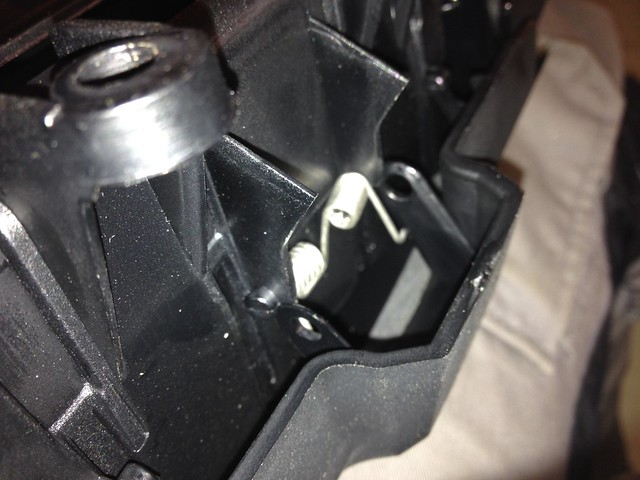
Removed the lid to have easier access, just to taps to pry apart a little and it pops right out, spring stays in place:
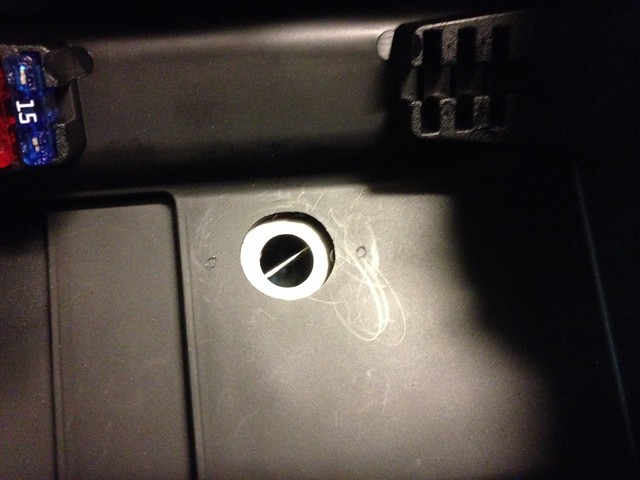
Ended up with the hole a little out of place:
Made it a little oval with the rotary tool:
Marking were to drill:
Countersunk bolts pulled into the plastic:
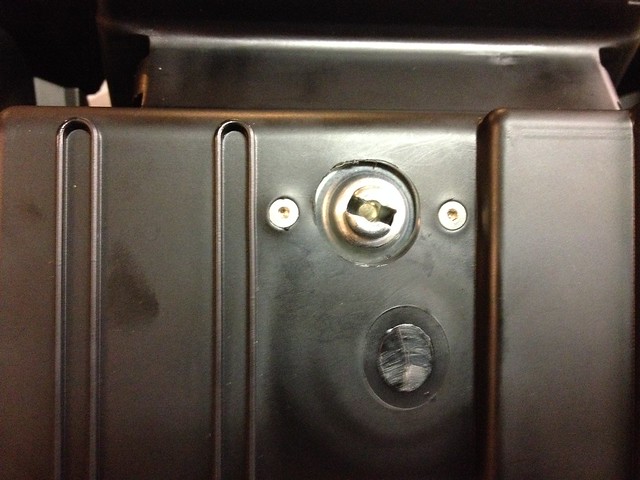
Nuts on the top:
Tightened up the fuse box bolts, did a few test fits during to make sure the glove box would be easy to install and remove:
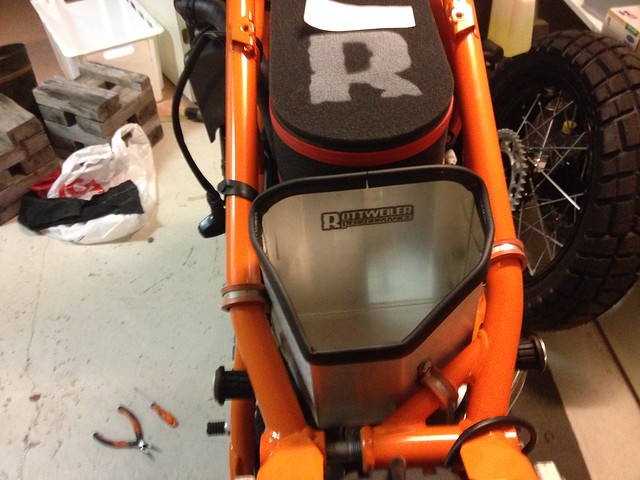
And there it is, the CPR trio in place!
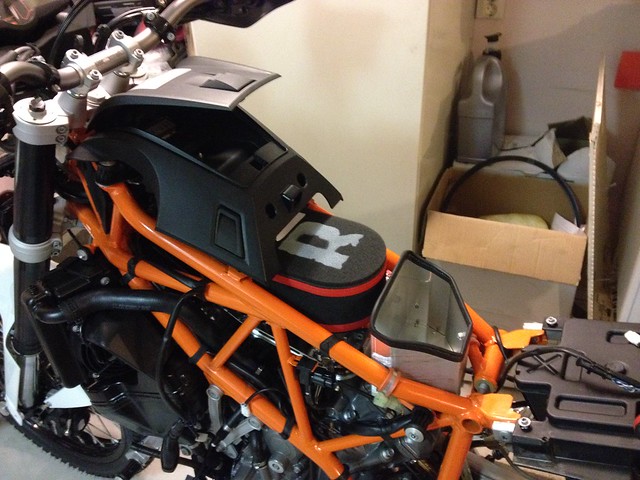
Just a few minor things to get everything in place!
The Snap out bracket was the part of the CPR solution that really sold me on their products, its so clever and really solves a problem. Have been searching for those small screws down by the cylinders many times on the 950.
Spent roughly four hours with this installation (half of that time searching for needed tools as most amateur mechanics do), bike was already stripped down doing that and bolting it back up I would guess a full day will be required if you are not a skilled mechanic.
And its a joy to work on a clean bike …wont stay that very long once I start using it!
Will leave the air filter dry for now since I will be doing a few more things to the bike this winter.
Havent fully read up on the SAS removal process on a 990 with fuel injection yet so will look into that before I start sealing up the unused electrical connectors.
Have a cable for mapping the ECU on its way since a remap will be needed after fitting another exhaust and this intake solution.
Hope this can be helpful to anyone thinking about doing this themselves.
This installation also opened up some space under the snap out bracket that was a great place to mount the pump for the air horn installation.
Leave a Reply