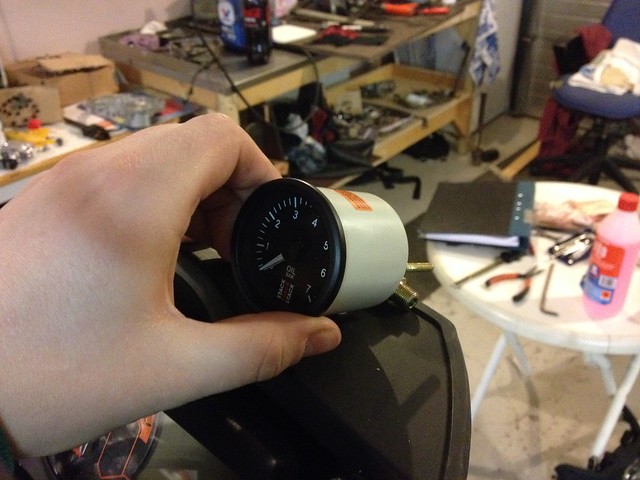
On the new KTM 990R Adventure I wanted to add an oil pressure gauge.
After some searching around I choose to go with a mechanical dial gauge.
Have seen nice solutions with an oil pressure gauge mounted in the front fairing but that would be hard with a mechanical gauge to have a hose connected if needed to remove fairing and on this bike I don’t want anything mounted there so looked a little at mounting it above the dash:
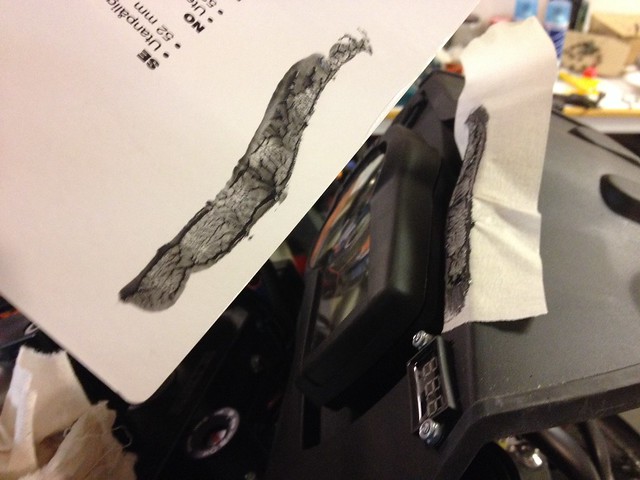
Some tape and black grease to get the outline that will be transfered to some thick plastic:
A really long drill to make the holes for bolting it in place:
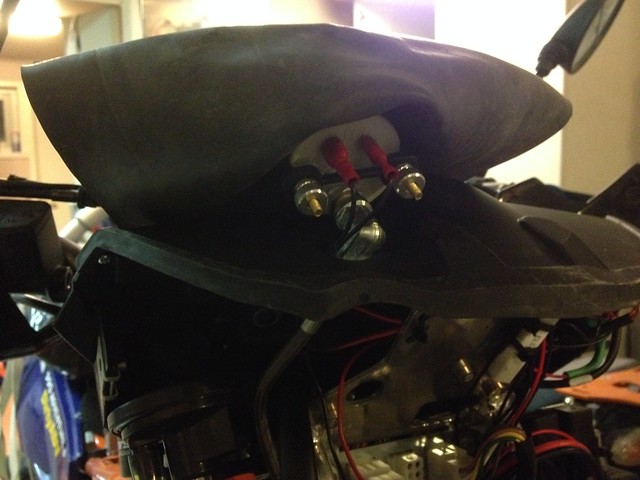
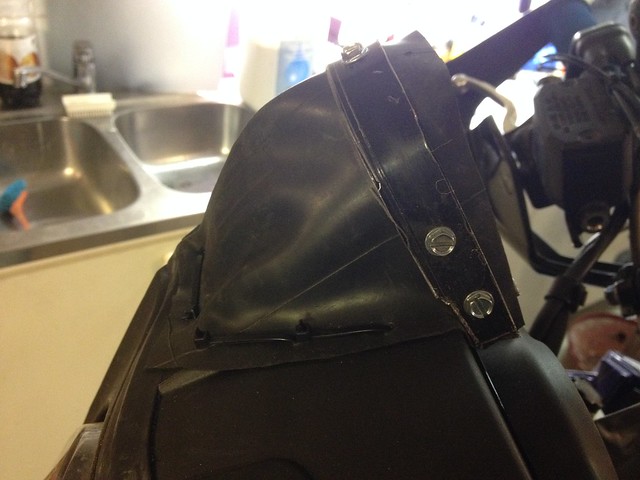
An old inner hose was cut to make a cover and a strip of aluminum was bolted around the edge of the plastic to clamp the rubber in place, a 90 degree elbow with 1/8″ NPT thread on each end was bolted to the gauge with hose in place:
Opened up the plastic splash guard some to allow the hose to go in there, if doing this drain and remove radiator was really tough to force it out enough to get splash guard out:
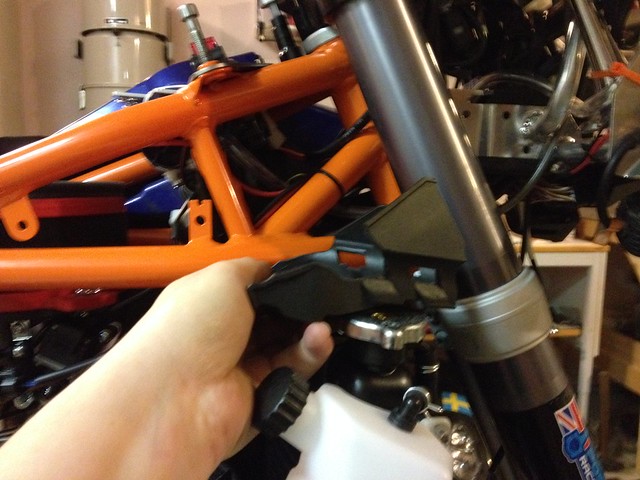
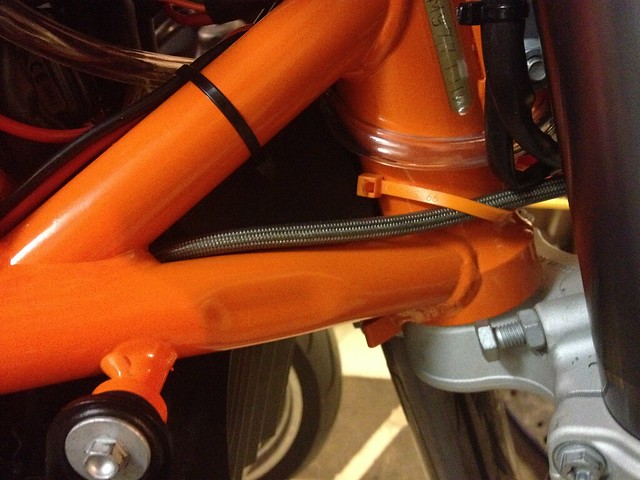
In place and it is clear plastic coat so the braided steel won’t damage the frame:
Had purchased the oil pressure adaptor with parts number 60029006000 to plug into the cam chain tensioner and choose to go at the rear cylinder since its more protected:
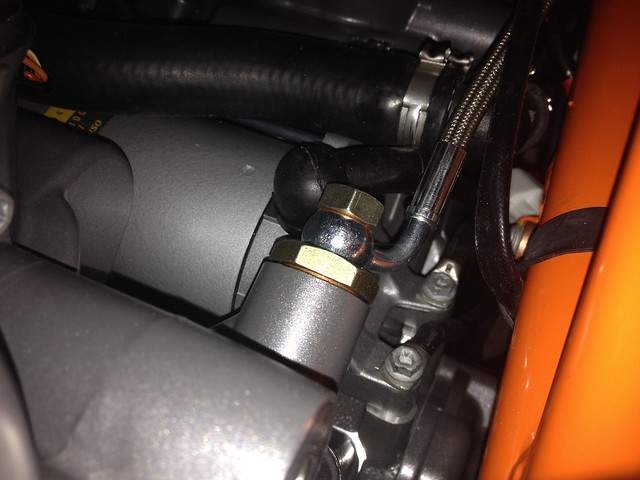
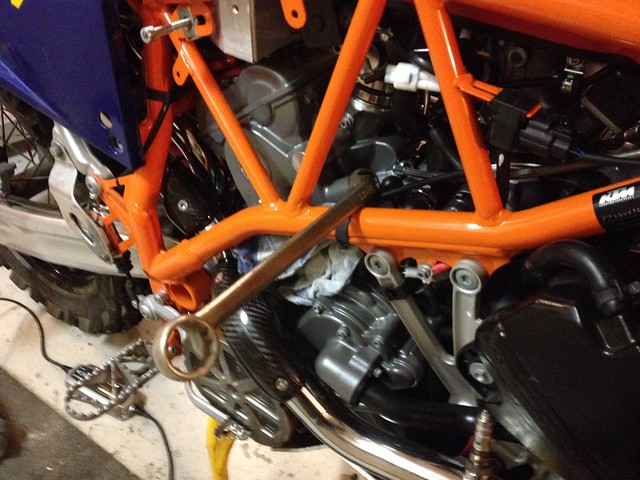
A 22mm ring spanner was used to tighten it back up, access was limited since throttle bodies and CPR filter was in place and would be even tighter with stock air box in place, removing them would get better access from up top:
The hose used was cut to 910mm in length and the 1/8″ NPT thread and 90 degree banjo fitting added some to that length, my local hydraulic company helped out with pressing the hose.
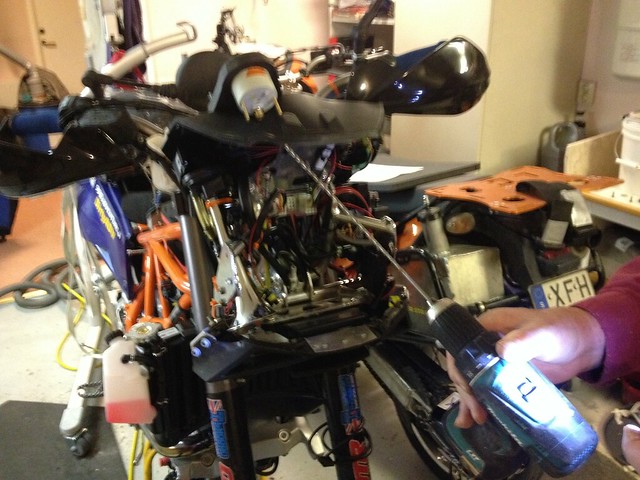
Did a short video on the first startup after installation:
Not sure if there will be possible to get an early warning should the water pump fail, hopefully on a newer 2011 model it won’t be as much casting sand in the system as I had on the old 950, did drain coolant and flush it a little and no sign what so ever of any contamination but if there is any might not come undone until used.
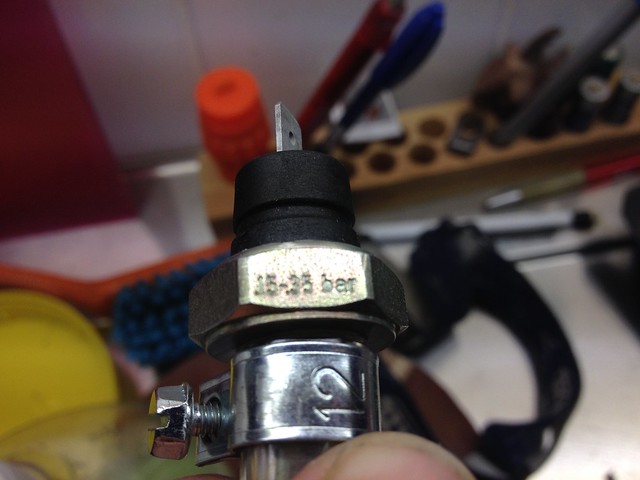
But the dummy light on the dash won’t start blinking until you are down to 0,2 bar, purchased a “spare” and did some tests and its also stamped 0,15-0,35 on it:
Stitched the rubber cover in palace by drilling a few small holes and a few small zip ties:
Hope this can help out if you consider installing one.
Time will tell if the gauge will survive.
Thank you for sharing pictures of Oil pressure gauge installation. Useful device for all types of motorcycle.
Johan, great write up and detailed pictures. How has everything held up? If you needed to do it over again, what would you change?
Sadly have to say I have had some issues with the needle sticking some in the gauge. Does not seem like it can really handle the vibrations from a motorcycle over time I suspect.
If redoing anything it will be going for a liquid filled pressure gauge. But if anything can be find with built in lights it will be EXPENSIVE. Have cheapo liquid filled gauges on some other bikes that seems to hold up better.
/Johan